
![]()
A collection works as a container or Memory To store a group of items and we can manage them in the context of our App. Collections is a special type of Data source , which is not connected to the cloud service but local to the device and cannot be shared among the devices for multiple users.
To operate collections in power apps we can use the functions like collect, clear and clearcollect
Collect :-
It will Return the Modified Data source as a Table
Syntax :
collect (Data source name , items,……..) collect (collection name , List name) |
Clear :- Removes all records from the collection, columns will remain unchanged
Syntax :
| clear(collection name) |
Clear collect :-
It will Delete all the records from a collection & Adds a different (New) set of records to the same collection . It is a combination of clear and collect.
Syntax :
| clearcollect (Collection name , items…..) |
Collection with SharePoint List :-
First lets perform the Collection Function By using a SharePoint as a Data source.
Go to SharePoint and Create a List “Electronics” As shown below

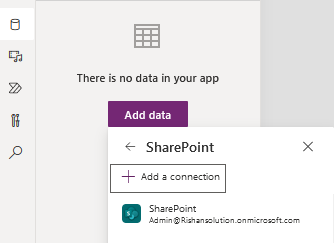
Go to power app studio -> create -> Canvas app
Connect SharePoint List to the Power apps
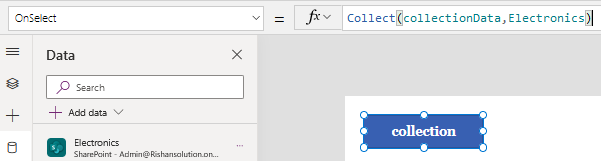
Insert a Button to the App By using which we are collecting the List items to the app
Add a collect function in the onselect property of the Button
| Collect(collectionData,Electronics) |
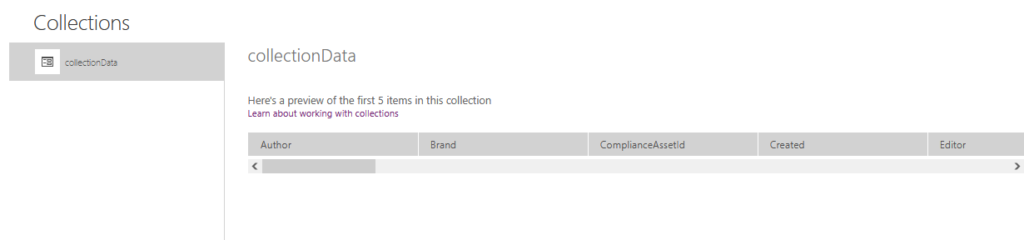
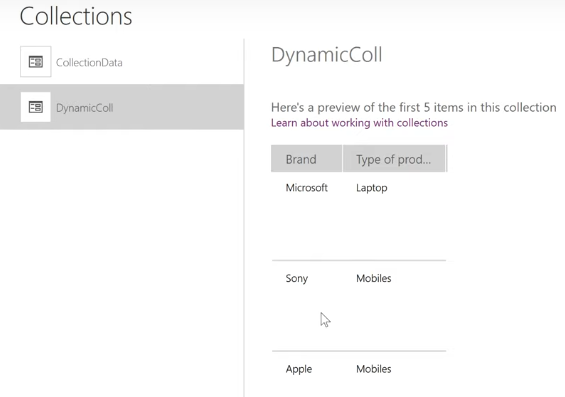
Now Go to collections
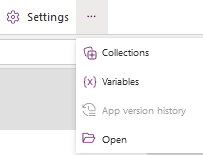
Here we can see a collection is created in the app
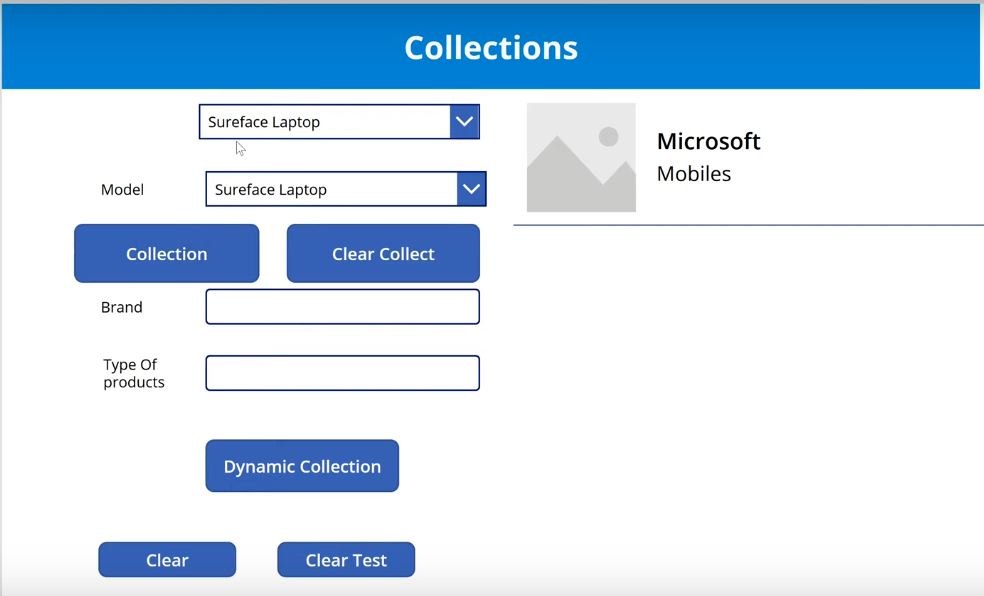
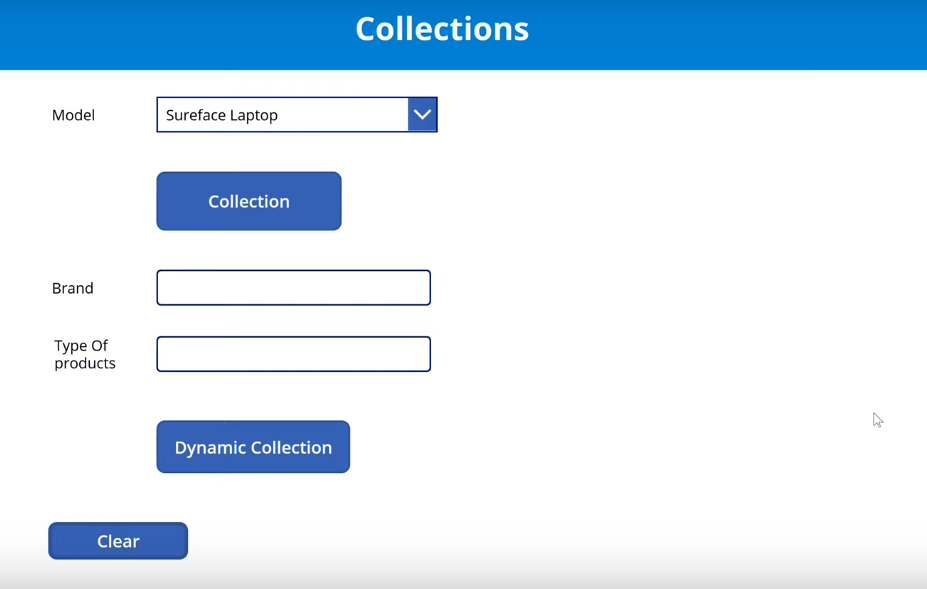
Lets use the controls in the app to display or to pass the items to List.
- insert 3 Text labels to indicate names to the controls like Brand, Type of product and Model (The names of the columns in a list)
- Add One Drop Downs to display the items in the column “Model” and rename it as “Brand”
- Insert 2 Text Inputs to indicate the items in the column “Type of product” and column “Brand” and Rename them with column names like
- For Model Drop Down write a formula in the items property of the Drop Down and also Rename it on the left navigation where the control is shown
| Electronics.Model |
Collect :-
To pass the Dynamic collection lets create an another Button
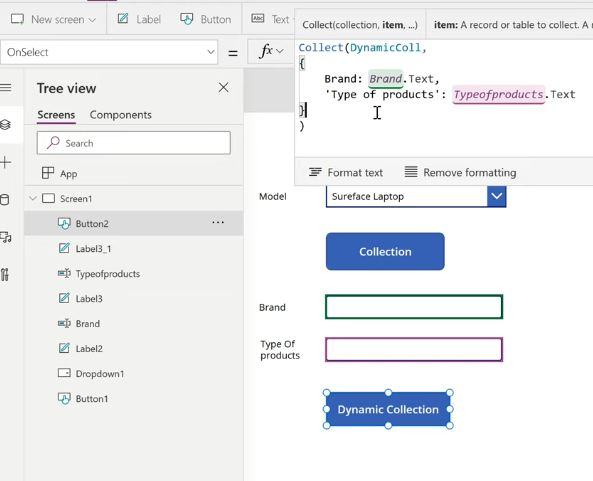
Write the following formula in the onselect property of the Button and rename it as “Dynamic collection”
| collect (Dynamiccoll,{Brand:Brand.Text,’Type of Product’:Type of Product.Text}) |
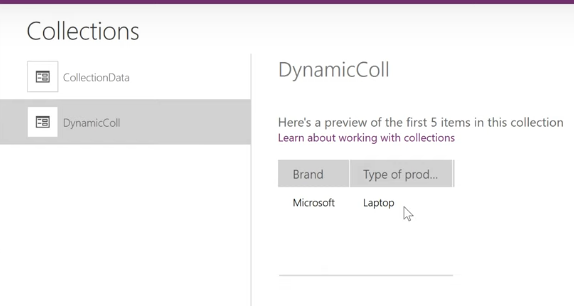
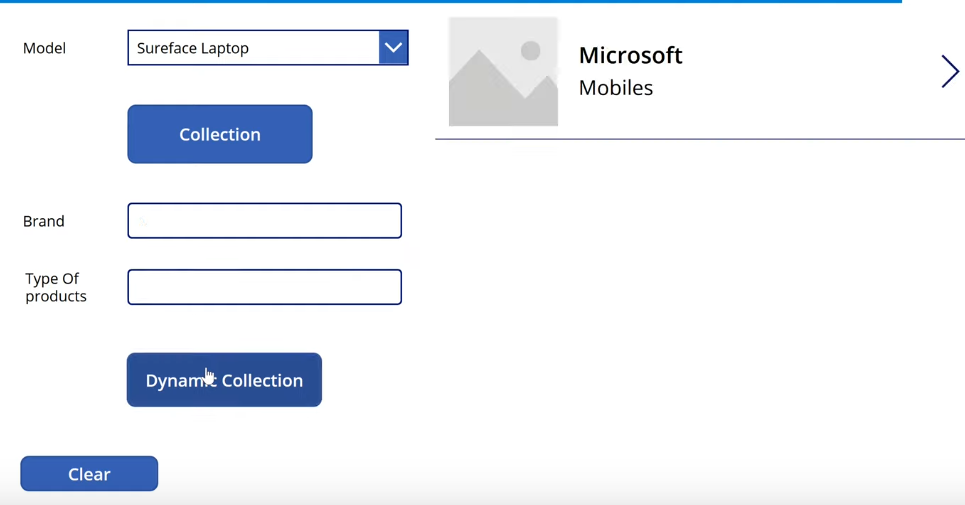
Now run the app and give some details which you want to pass to a list and Tap on “Dynamic collection” button. The items are stored in the Dynamic collection as shown
To Reset the controls to Default value Add the Reset function to the formula as shown
| collect (Dynamiccoll,{Brand:Brand.Text,’Type of Product’:Type of Product.Text}); Reset(Brand);Reset(Type of product); |
Now run the app and Add some details

When you Tap on the “Dynamic collection” button the items in the control will be deleted
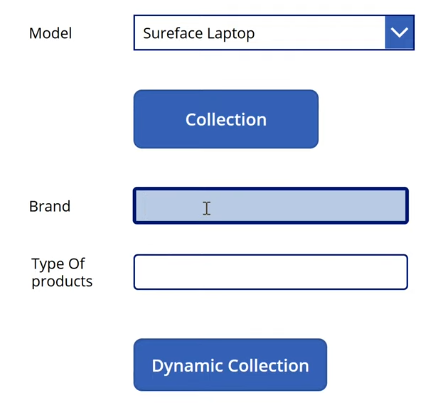
But the items will be stored in the collection
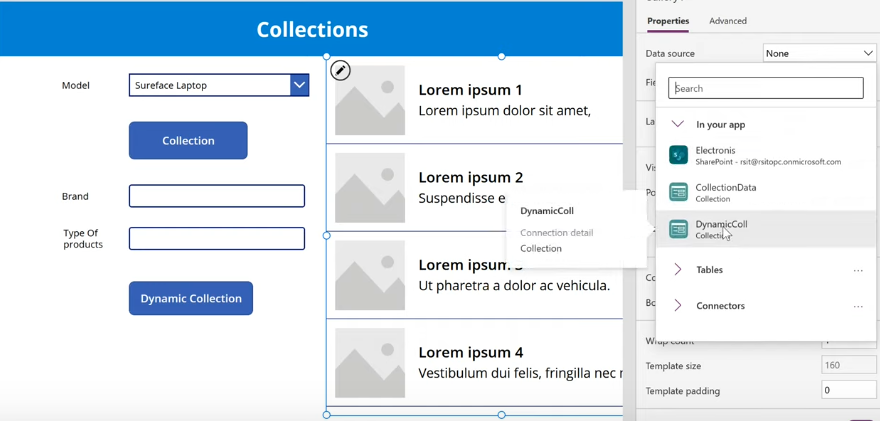
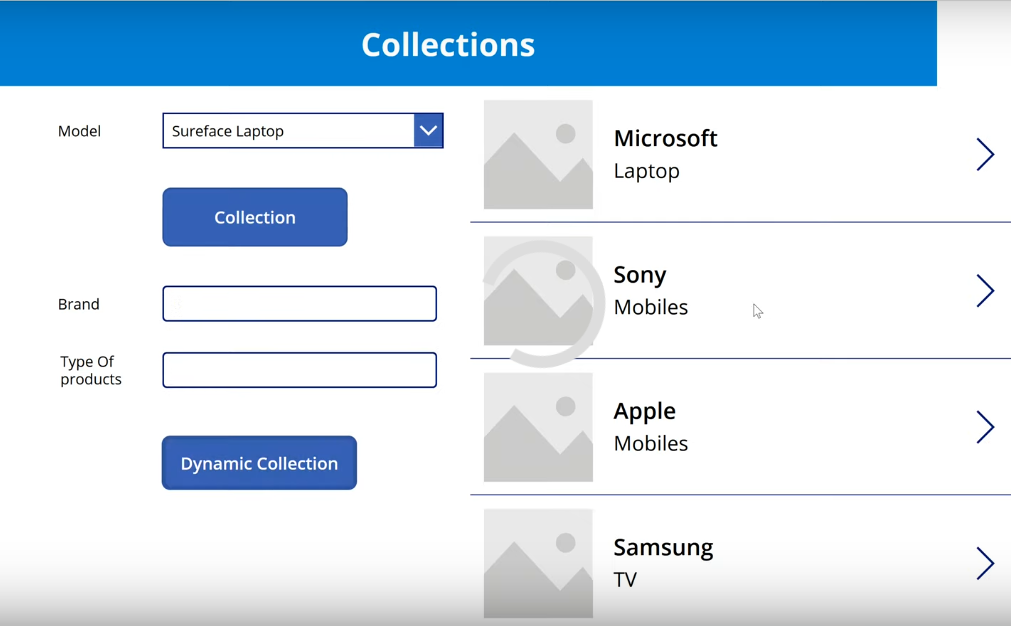
To Display the Dynamic collection in the Gallery , Insert A Gallery to the app and connect with Dynamic collection.
When you run the app and Add the items that items will be stored in the gallery
Clear :-
Insert an Another Button to the App and Rename it as “Clear”
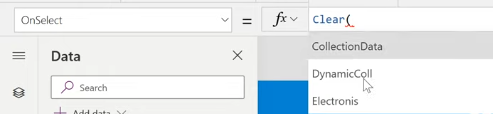
Write The Function in the onselect property of the Button
| Clear (Dynamic collection) |
Run the App and Tap on the “clear” Button , The collection in the Gallery will be deleted
Again Run the app and Add an item it will store in the gallery
Add another Button to the App to Clear the data in the collection “CollectionData” and Rename it as “clear test”
Write the following formula in the onselect property of the button
| clear(collectionData) |
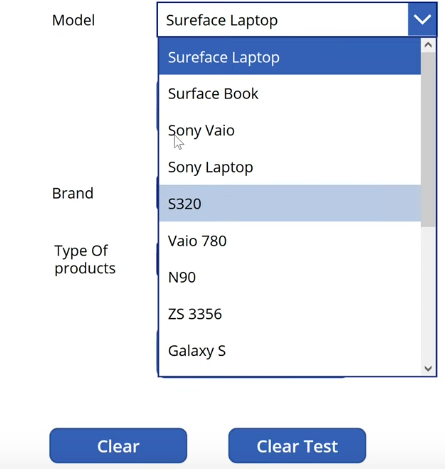
Run the app , When you check the Model Drop Down the Data is coming from the collection”CollectionData”.
once You Tap on the “clear Test” button the data in the drop down will be deleted
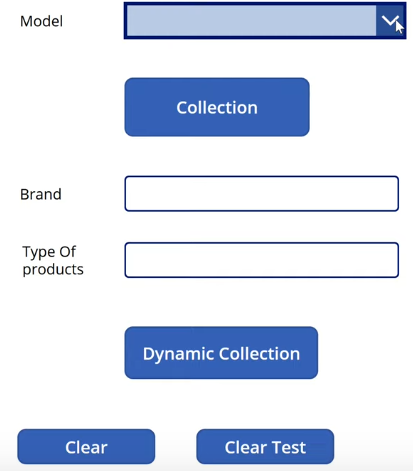
The items will be deleted from the collection but not in the SharePoint List

Clearcollect :-
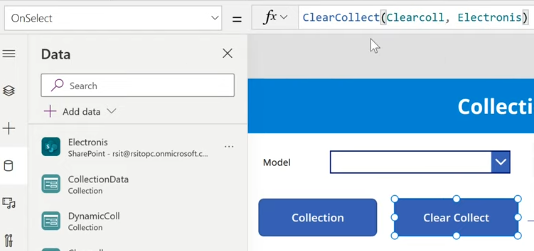
Insert a button and Rename it as “clear collect”
Write a formula in the onselect property of the Button
| clearcollect(clearcoll, Electronics) |
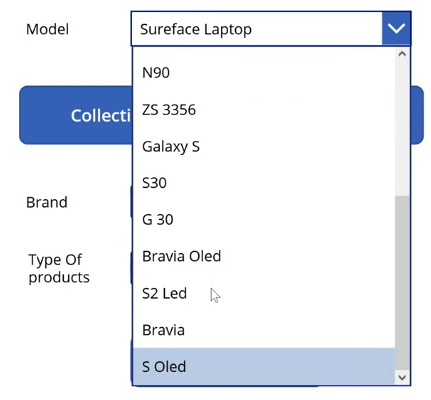
Now Run the app and Tap on the “clear collect ” button Then we can see the Data is added in the drop down from the List.
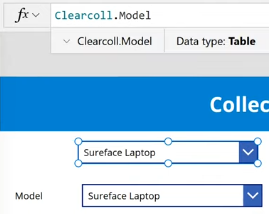
Add another Drop down to check the difference between the clear and clear collect.
Write the formula in the items property of the Drop Down where we are adding the clearcollect
| clearcoll.Model |
Add another item to the list as shown

Run the app and Tap on the “collection” button The collection with newly added item(Test collection) will be shown in the drop down
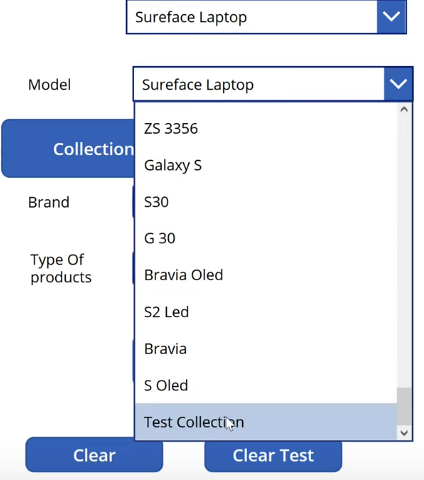
Same collection also will be shown in the first drop down

But the count in the second drop down will be increased every time you hit the “collection” button.
In the first drop down the count won’t be increased because it will delete the the records already existed in the collection and add the new records to the collection. It will perform both clear and clear collect operations at a time.