![]()
Step 1: To see the content which we created like a list or document libraries that we can able to get it from the Site Contents. These site content option will be available on top and also available again in site action guar when we click on site action guar the symbol on right top we click on that it shows as Settings but that item we can say it has a site action guar.
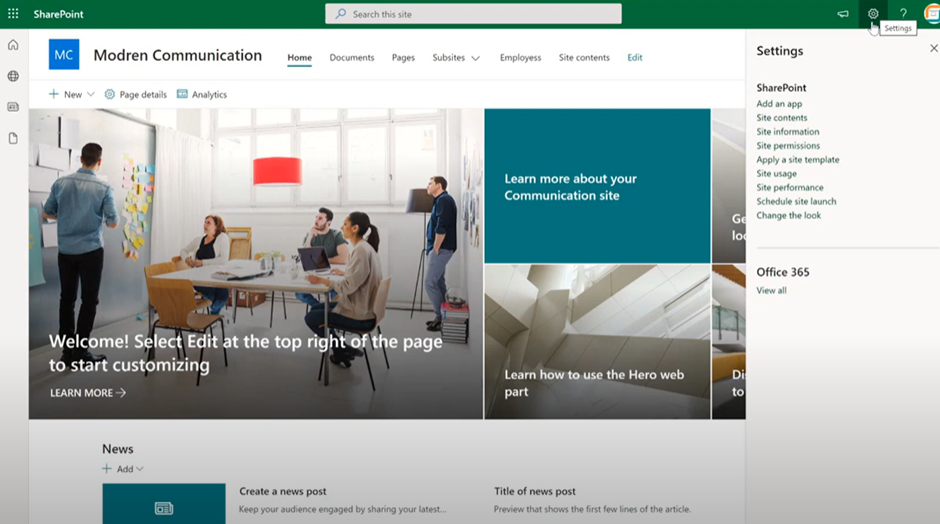
Step 2: When we click on site action guar it shows several options and click on site contents

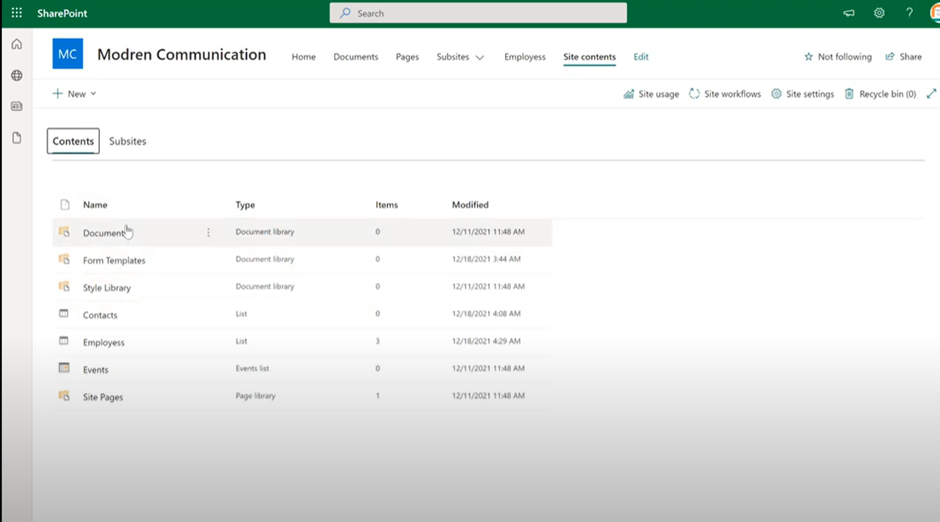
Step 3: When we click Site contents and then it shows the document libraries and the lists which we created shows there.
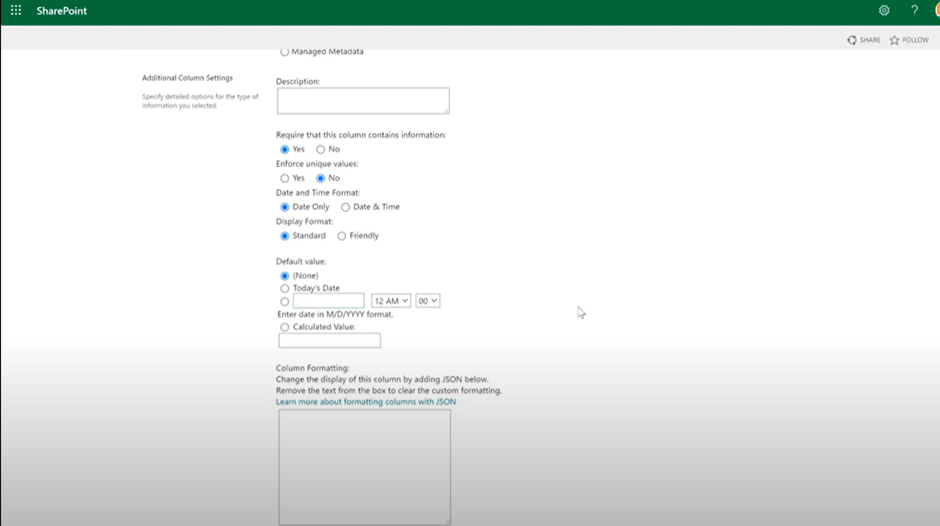
Step 4: When we click on Add columns will get a limited options but when we click on more we can able to see other options which are available and will create date and time column. To create a Date and time column give Name and select date and time.
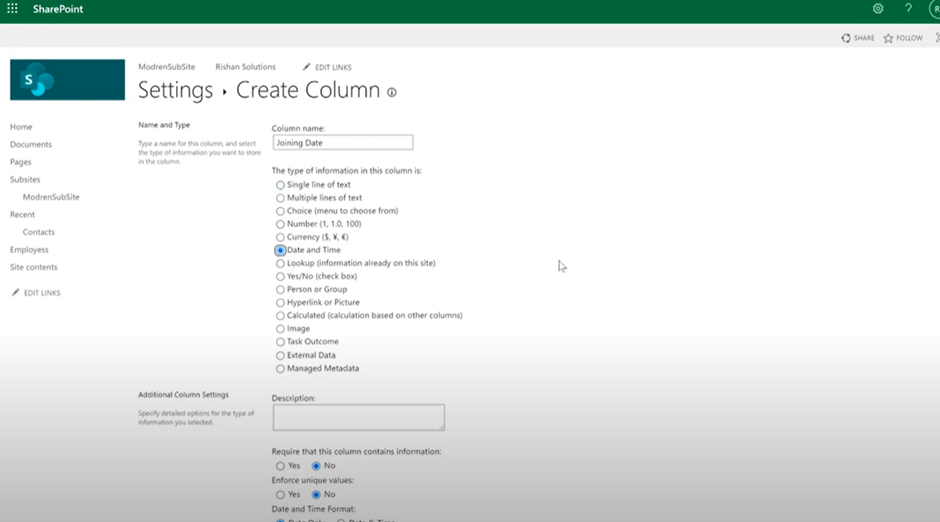
Step 5: When we select data and time the options will change down and give the options and then click Ok.
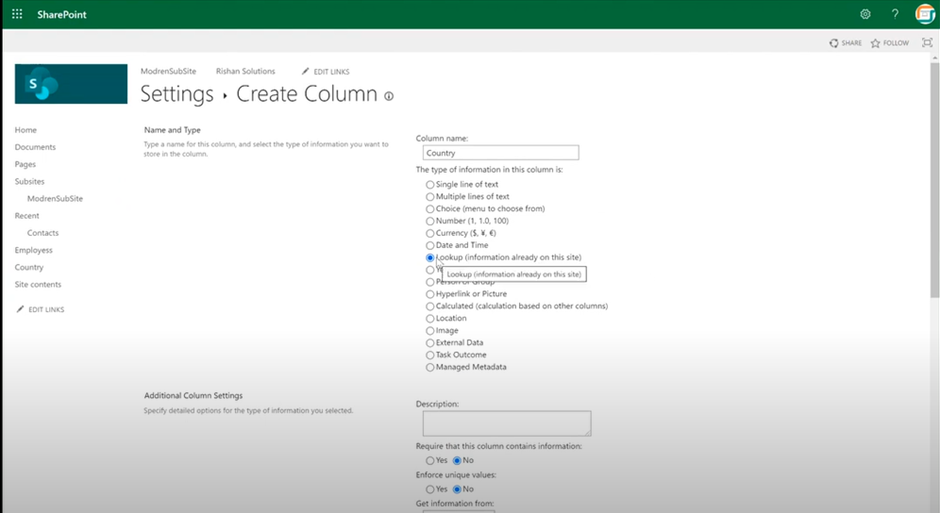
Lookup Column:
Step 1: Lookup column what do is it will take the data from another list to this column.
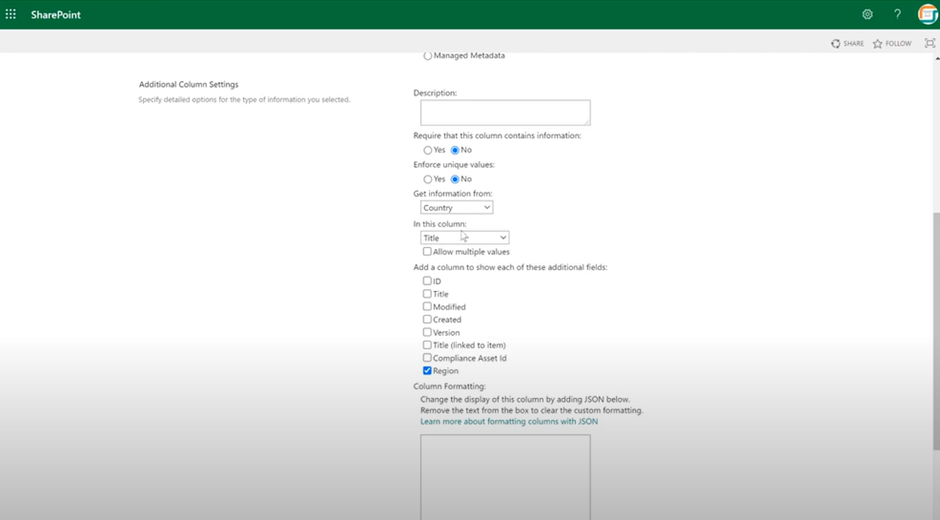
Step 2: Description is optional. Select the gets information for and in this column.
Step 3: Here will get a relationship between this column and the list where it is exactly created that shows.
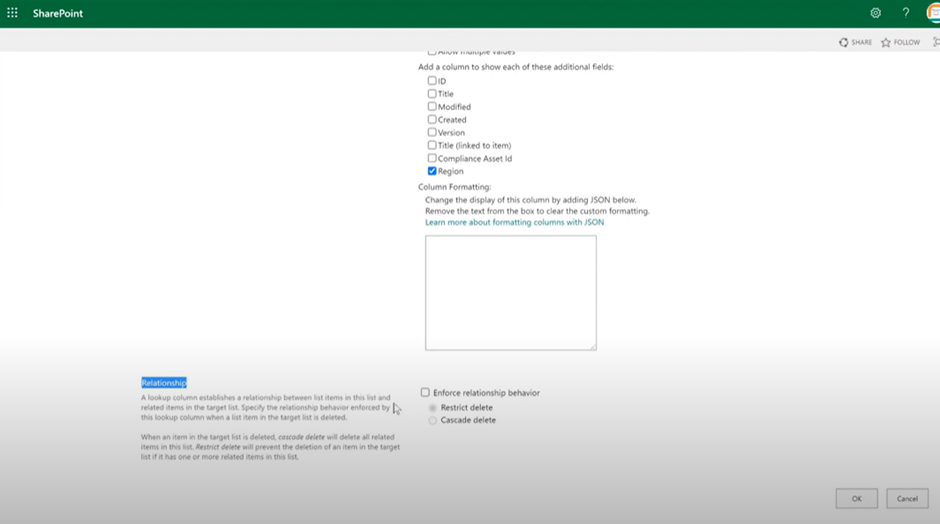
Step 4: There is enforce relationship behaviour restrict delete and cascade delete it will delete all related items in this list and if we go with restrict delete it will all related items in this list and if we go with restrict data it will not delete the items and the target list.
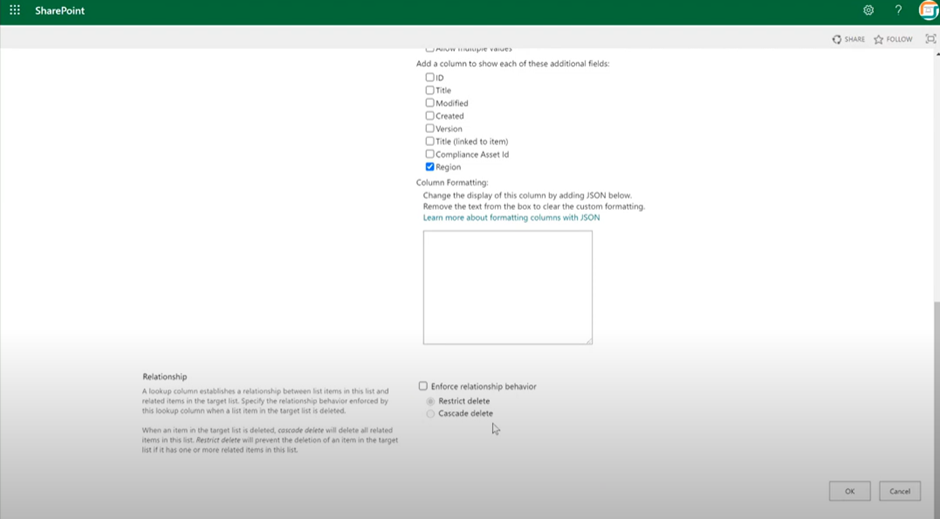
Step 5: Click on OK.
Step 6: Click on +New
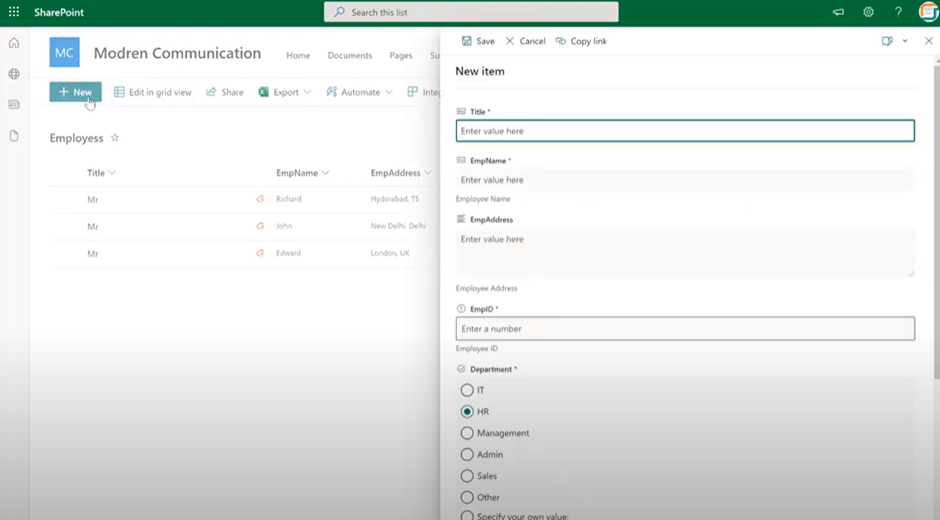
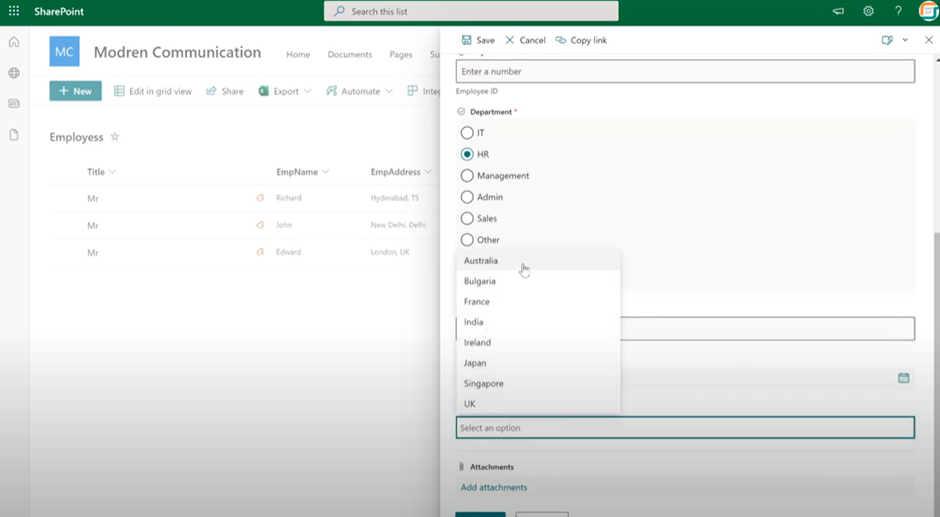
Step 7: we can able to see the country field if we click on it we can able to see the countries
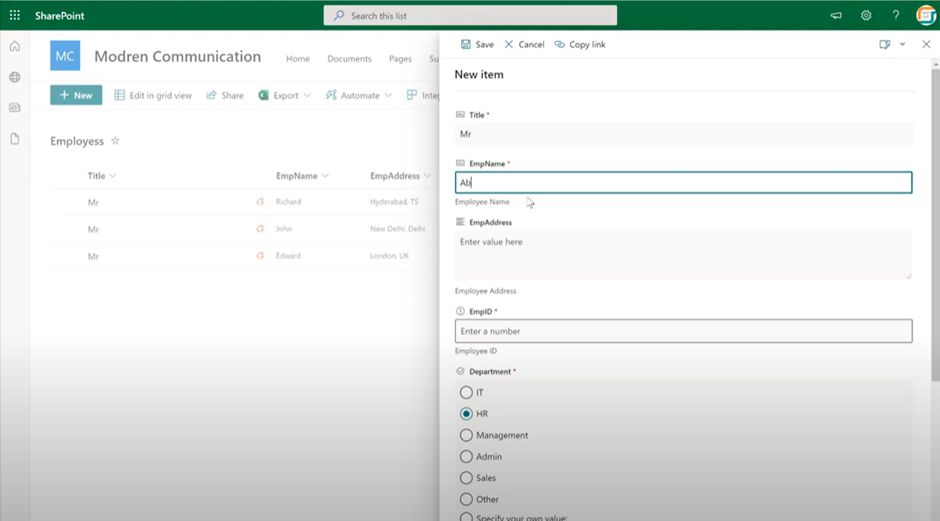
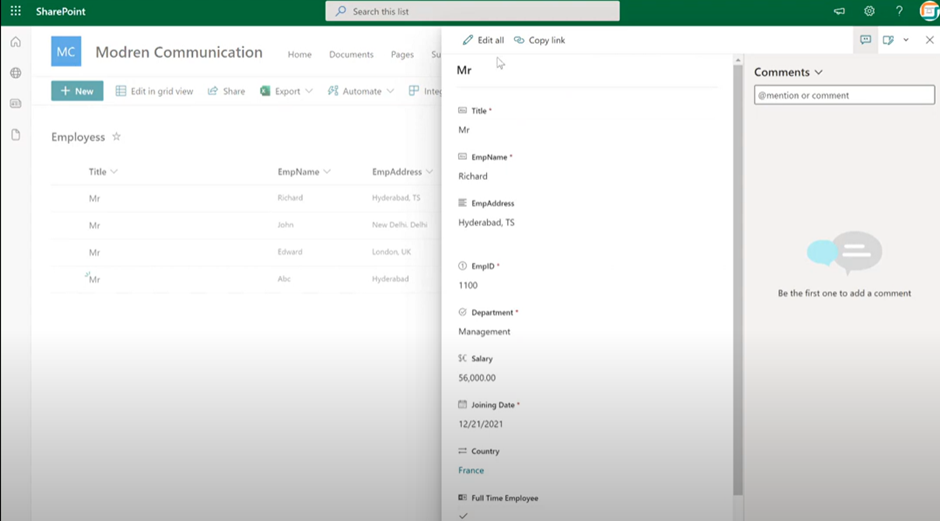
Step 8: Enter the Title and other details and click on save
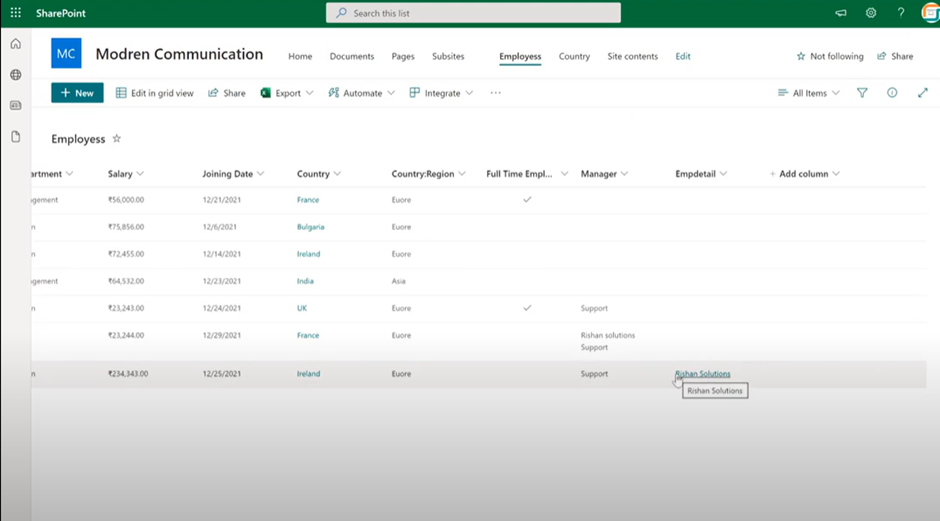
Step 9:When we try to save the data and the data will store we just selected India and here we can able to see the region as well because the region is coming from the selected value of Lookup column.
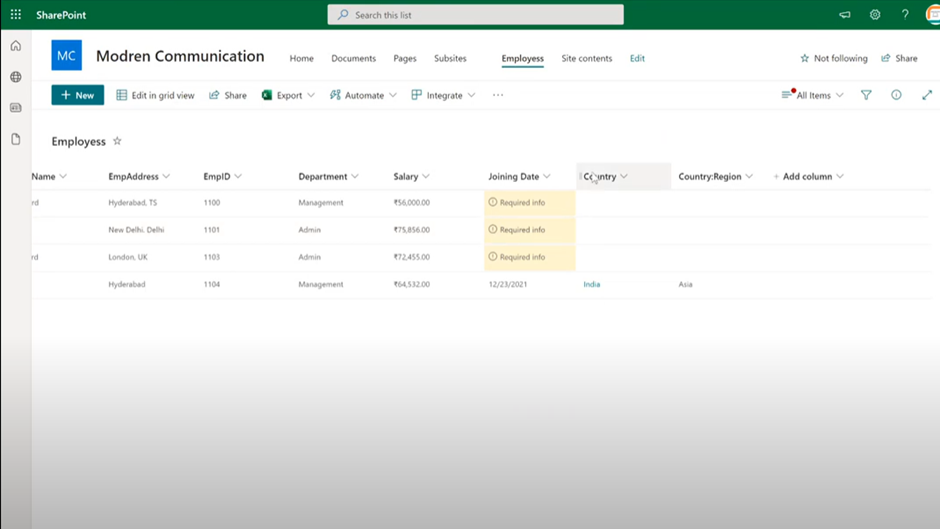
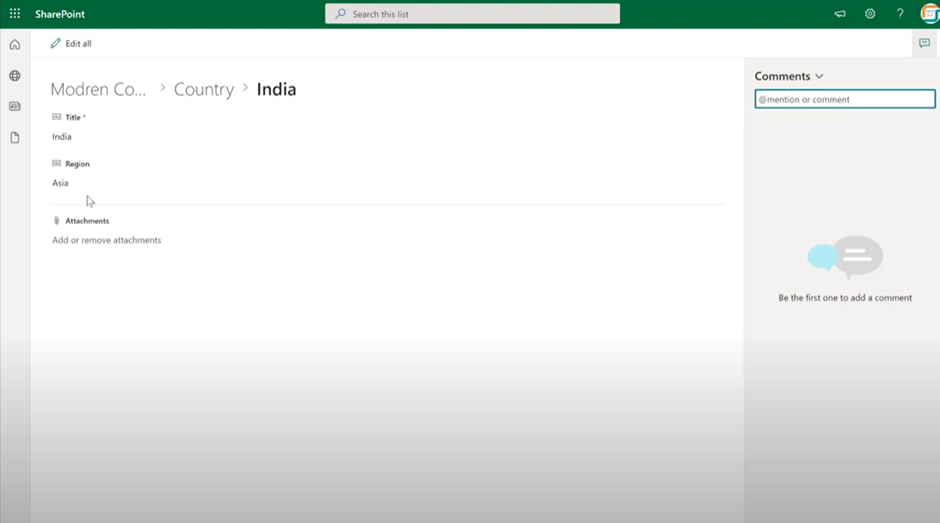
Step 10: Here we can able to see the link behind these India

When we click on that link the data will fetch from the list which we created.
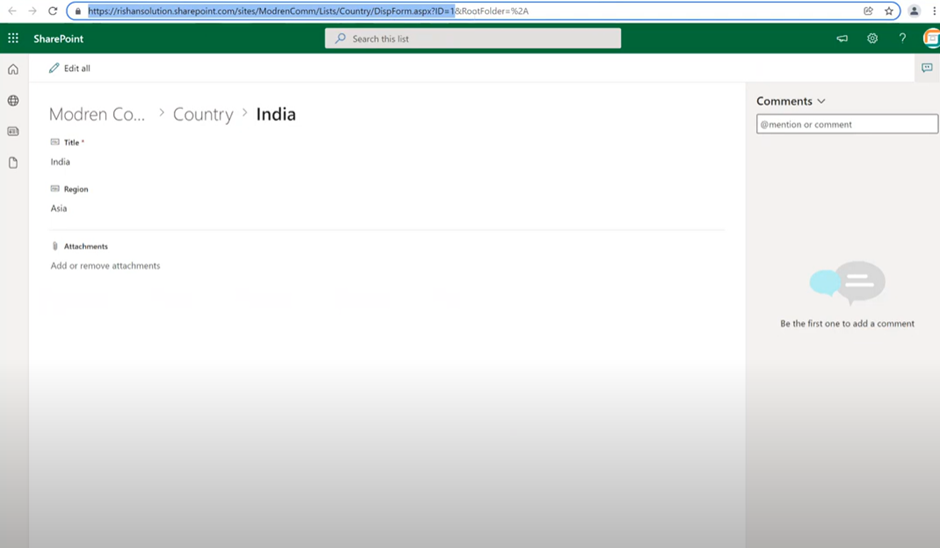
Step 11: we can able to see the complete URL of the list on top. The link is redirecting to the list where it is actually created.
Yes/No(Check box):
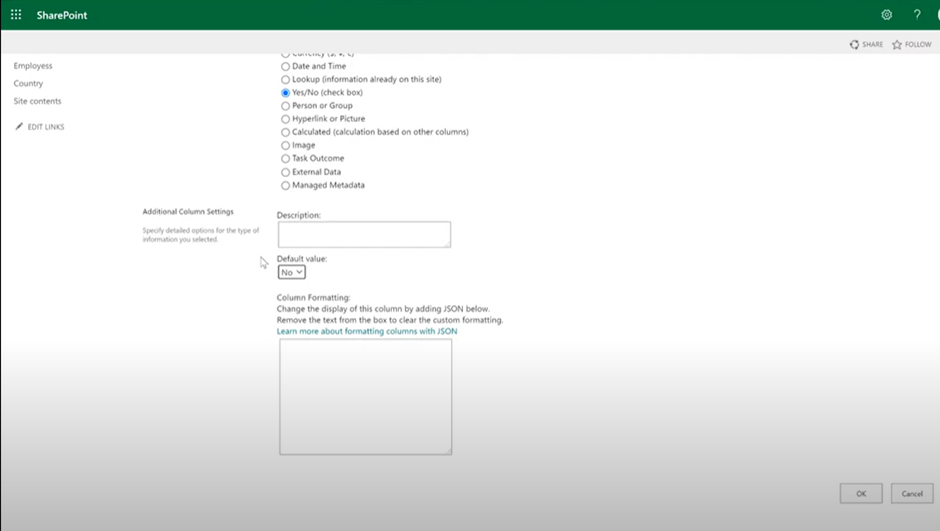
Step 1: Click on Yes/No(Check box).Give Column Name, Description, and give default value.
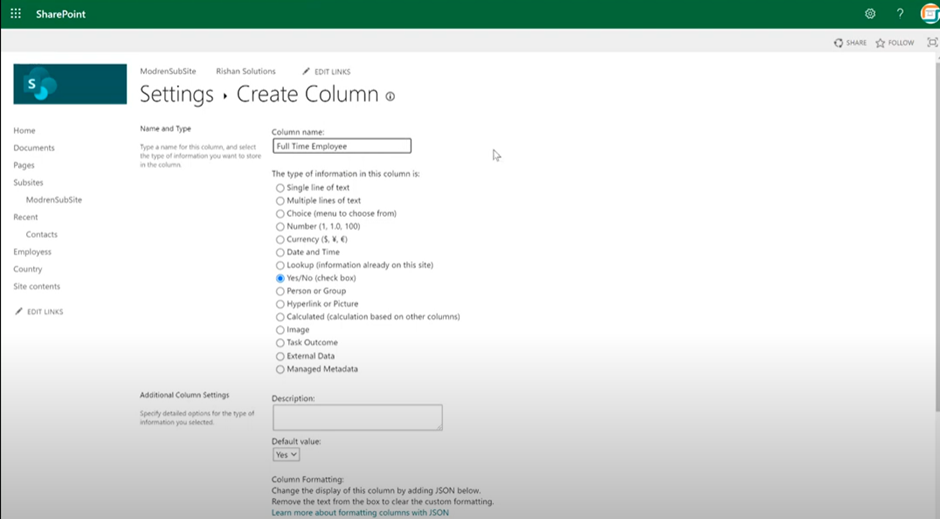
Step 2: click on OK
Step 3: If we try to edit, we can see the check box and just click if it Yes or No and click on save.

Step 4: In the view we can only able to see Tick mark there after saving. If we give default value No the value will be empty.
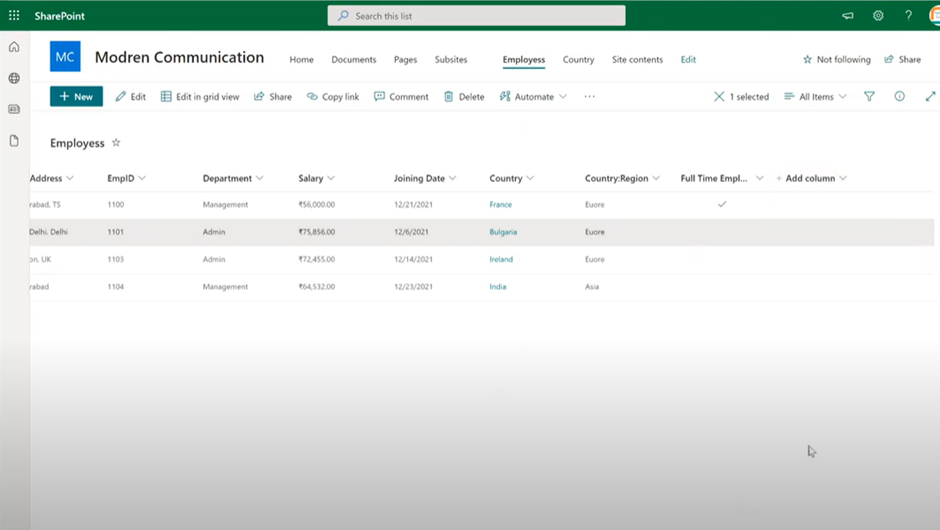
Step 5: whenever we click on the created item in the view also will be able to see the tick mark.
Step 6: When we click on edit Yes option will available but in the display also we can able to see only the right tick mark we cannot see the statement like Yes or No in the output.
Person or Groups Column:
Step 1: Person or Groups Column is the most important column of SharePoint and these only accepts the user name and it doesn’t accepts if we gave any other names.
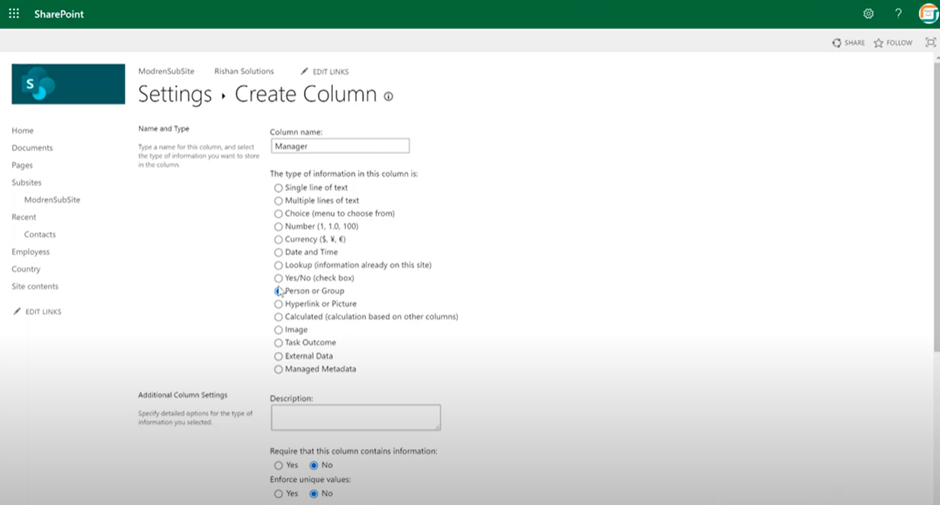
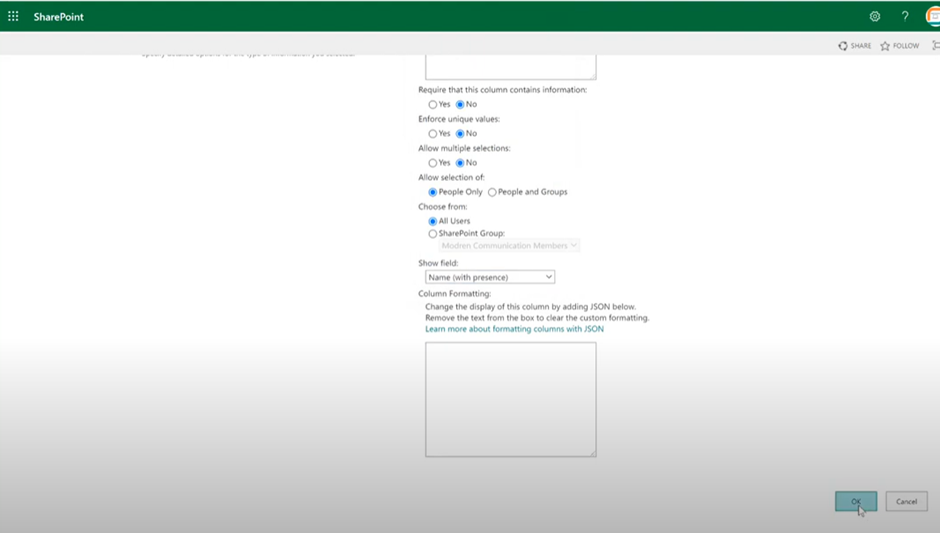
Step 2: Give description and other details.
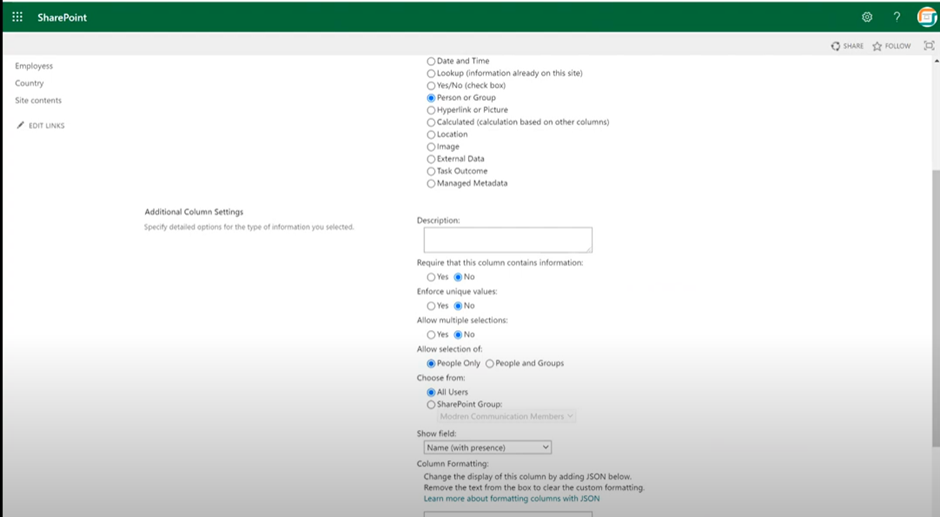
Step 3: Click on OK
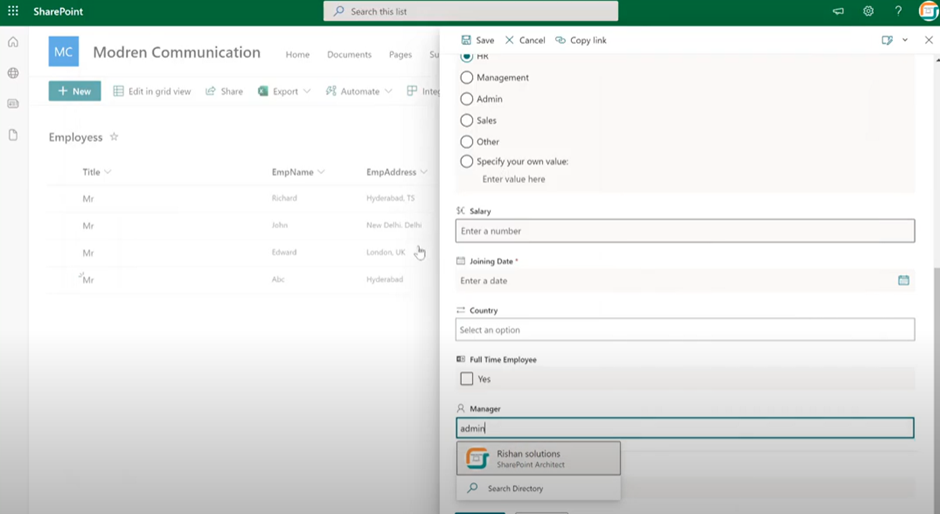
Step 4: When we try to add data after creating column and if we give any names it doesn’t take and when we give user name it accepts and it accepts only single name.
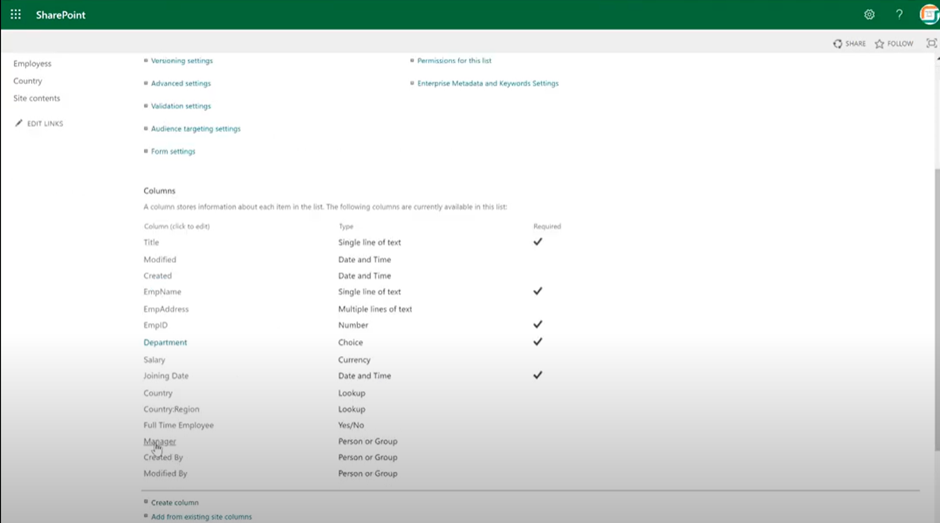
Step 5: To edit the column click in List settings
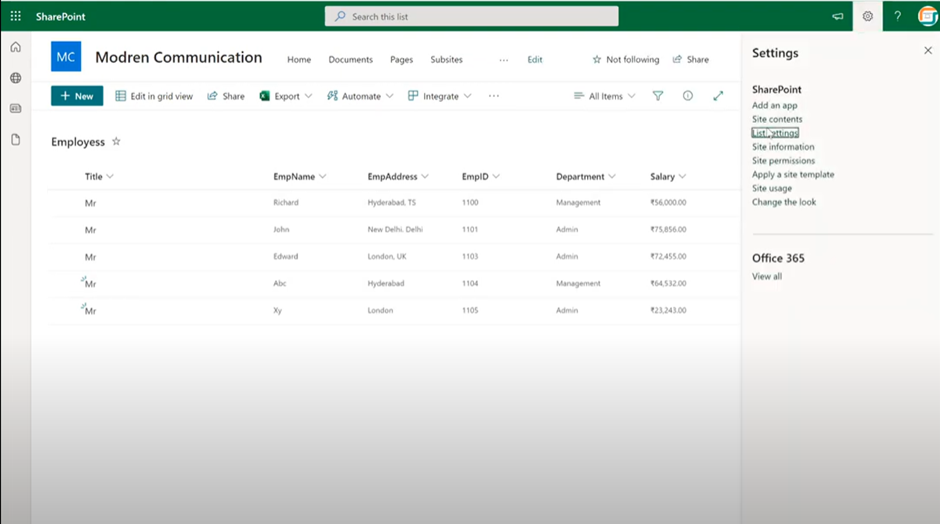
Step 6: Click on the column name which we gave here we gave a manager. Select Manager
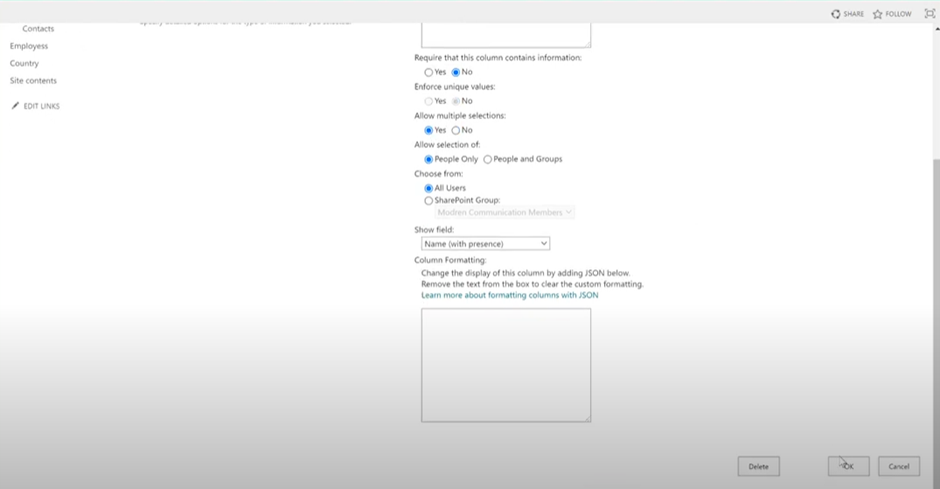
Step 7: Click on allow Multiple selection Yes and click Ok then it will able to allow multiple users. .
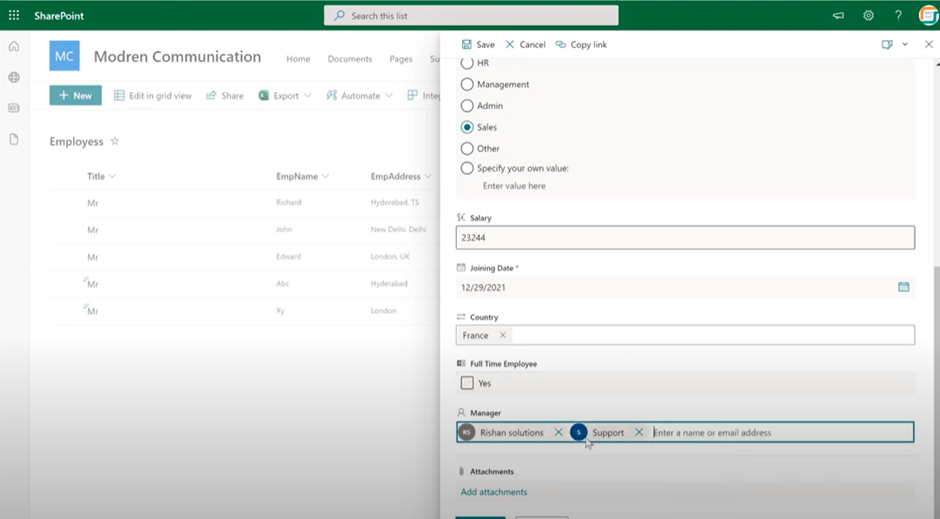
Step 8: Two managers will be available there and click save.
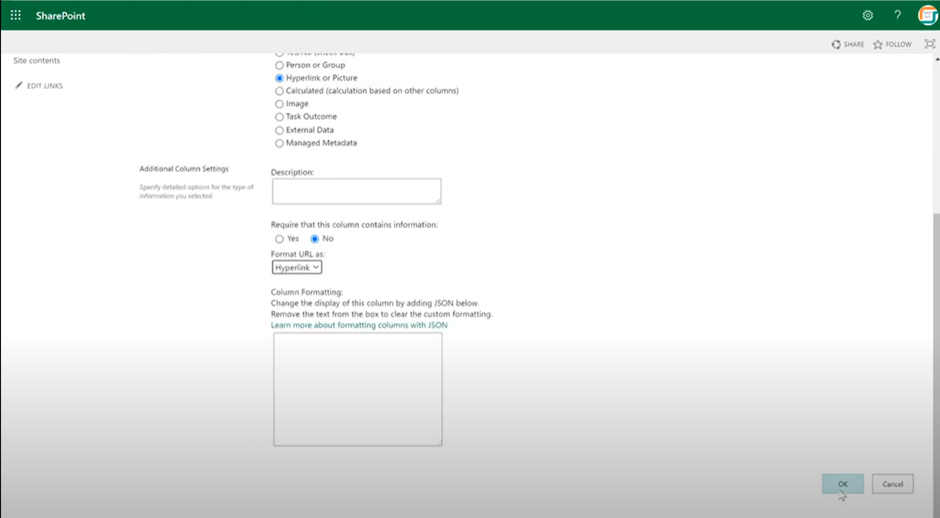
Hyperlink\Picture:
Step 1: Click on Hyperlink\Picture and enter the Column name
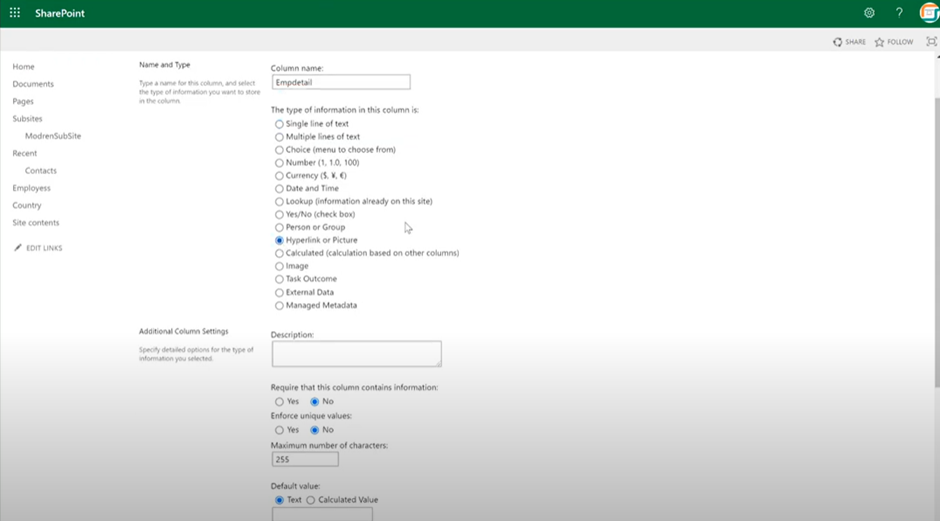
Step 2: Enter the Description and other format URL details and click on OK
Step 3: Give an URL and alternative text. This will helpful to add link only
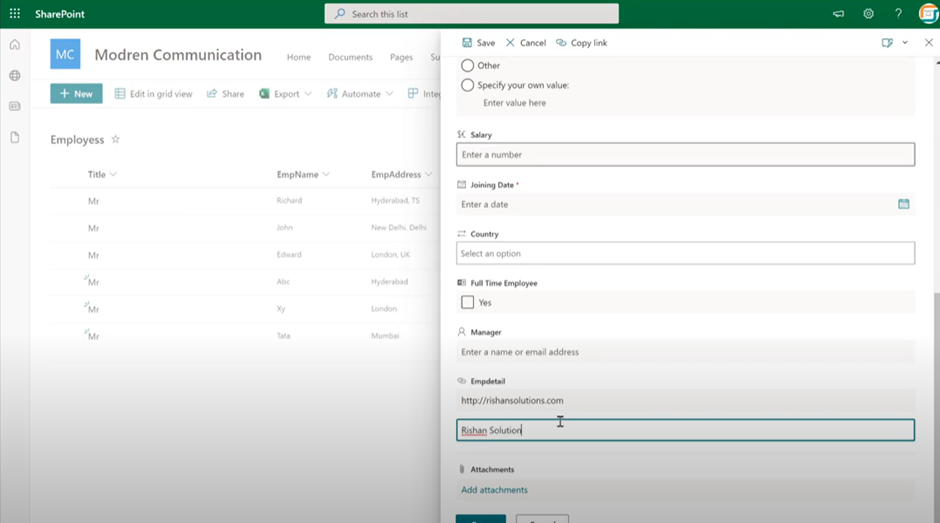
Step 4: So will be able to link and whenever we mouse over these one we can able to see the alternative text and if we click that it will redirect to the URL which we provided. Sometimes whenever we are creating URL some company details storing into our list and then we want to store the company URL this will be helpful and the users can able to redirect from the list when they hit it automatically redirects to the URL which they provides and this is the advantage with the hyper link column.