![]()
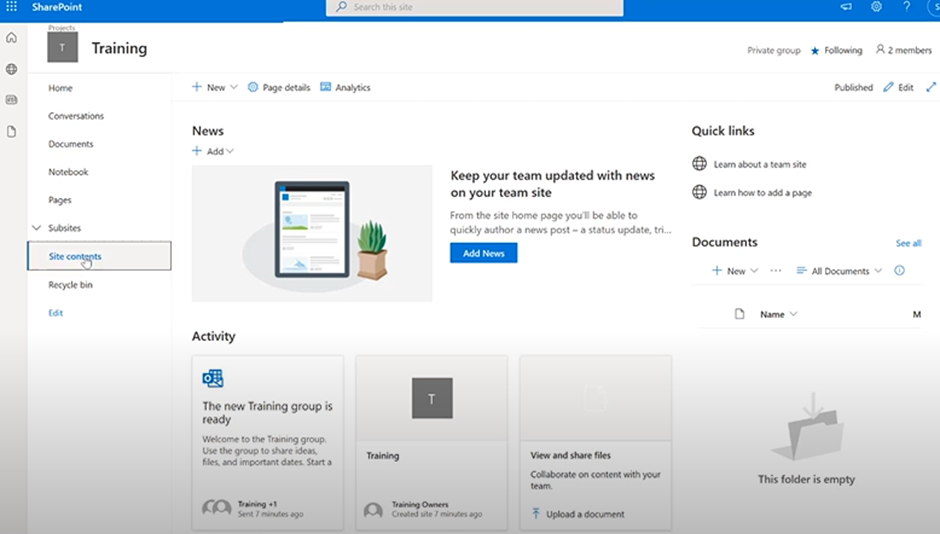
Go to Site contents and click on Site contents
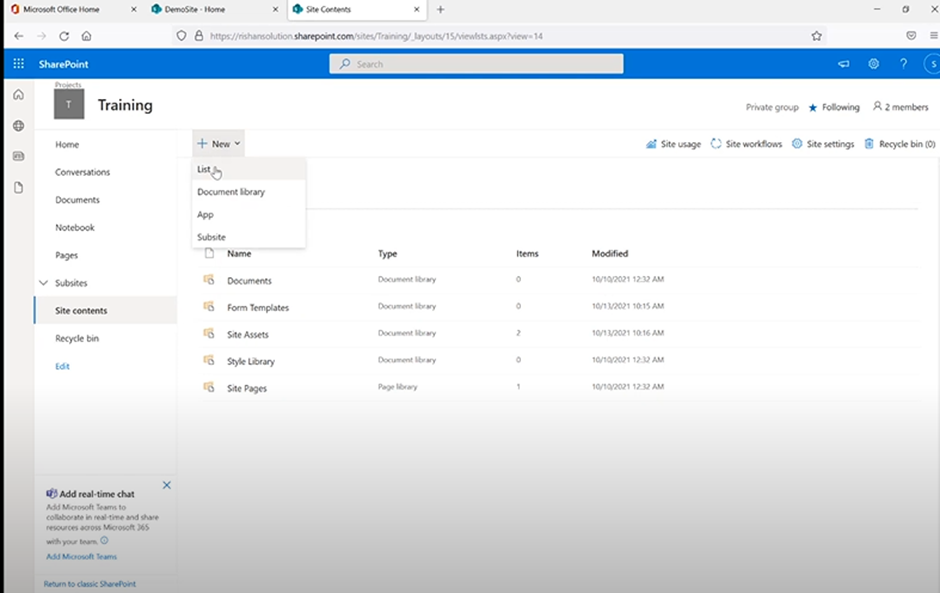
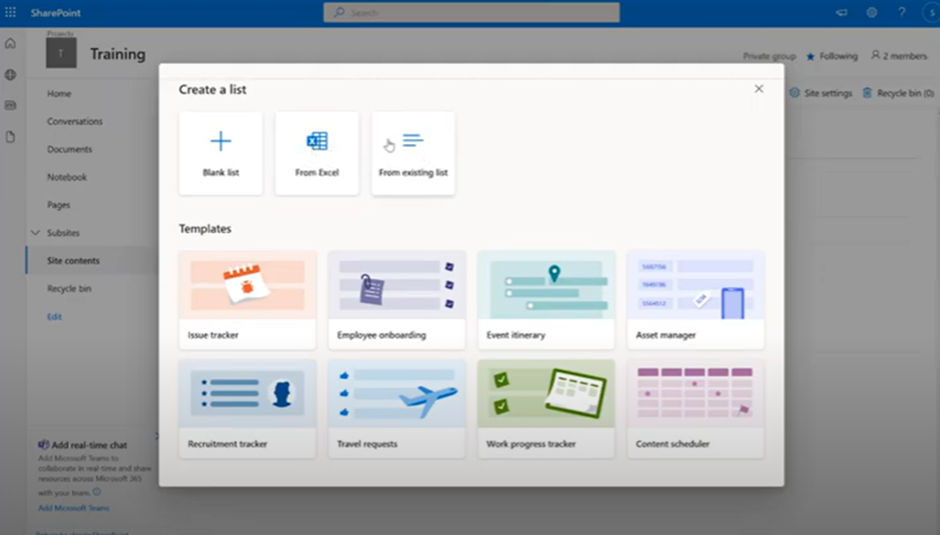
Step 1:Click on +New and click List.
Step 2: If we click on List then we can able to see few Templates and we can also create a List from Excel and we can also create from existing List.
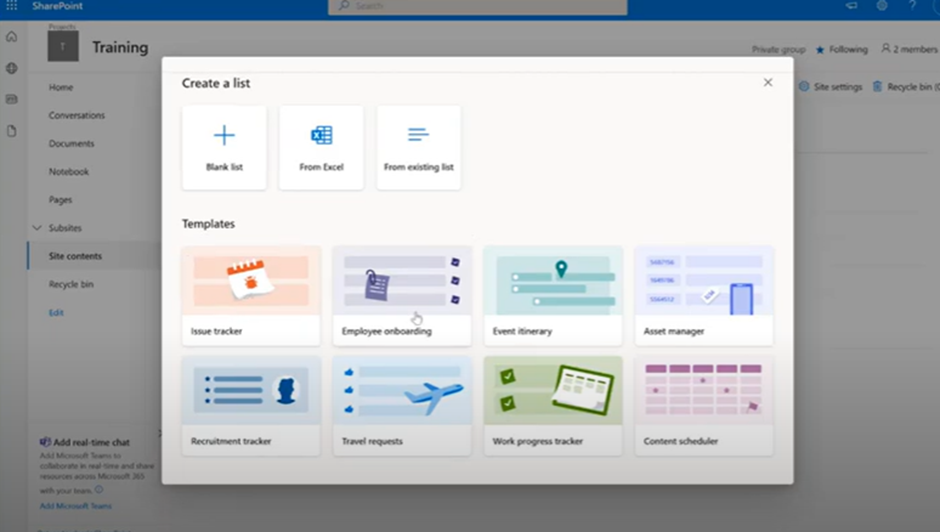
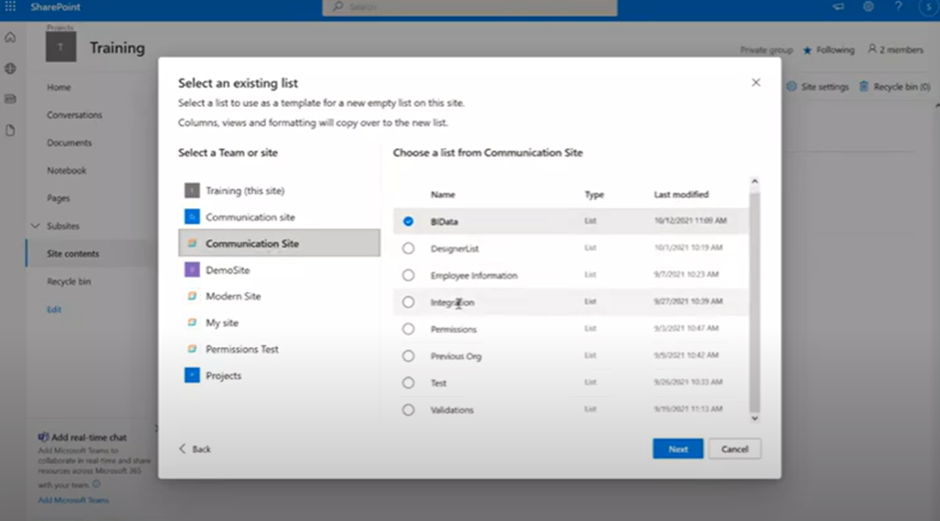
Step 3: To create Existing List. Click on Existing List.
Step 4: After clicking an Existing List we can able to see few Lists were there in the Team Site and that shows different Sites which we created there.
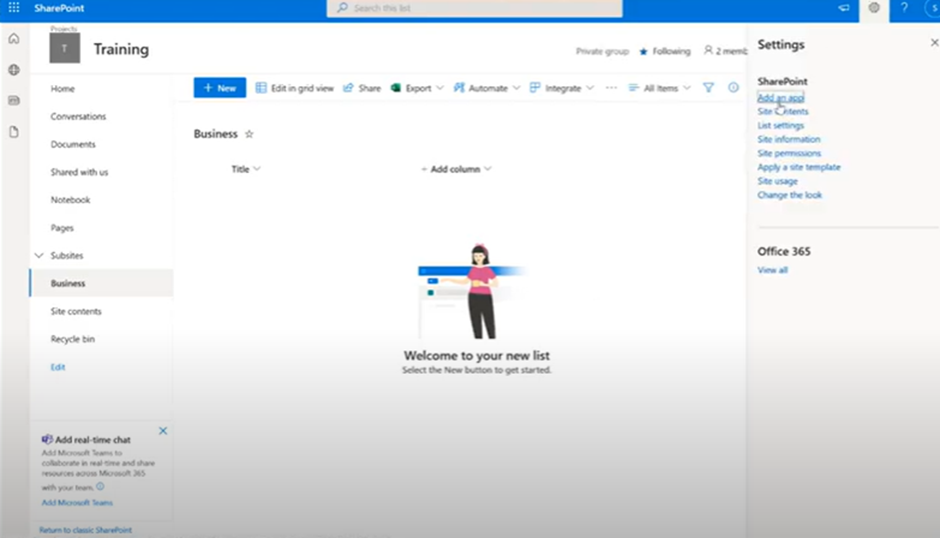
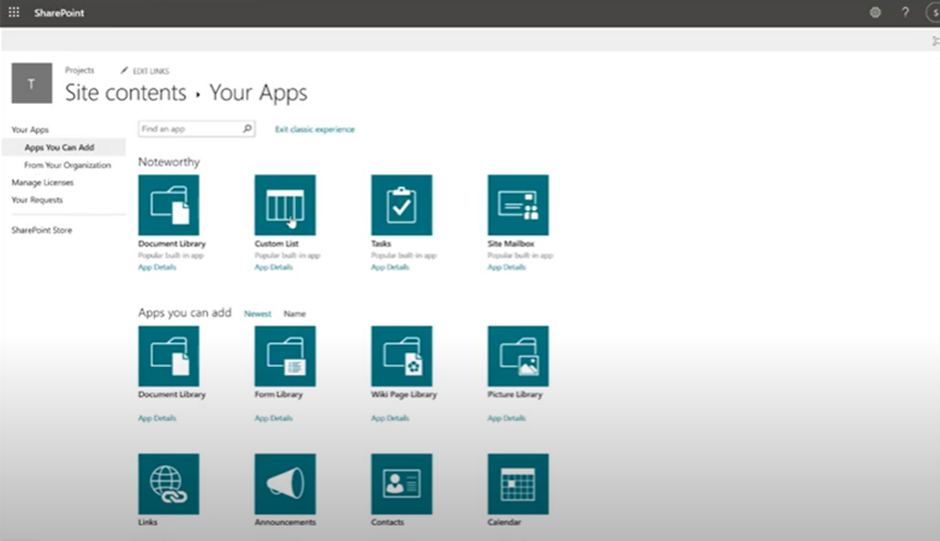
Step 5: Click Add an App
Step 6: In these Add an app we can see the Apps you can add and Added apps.
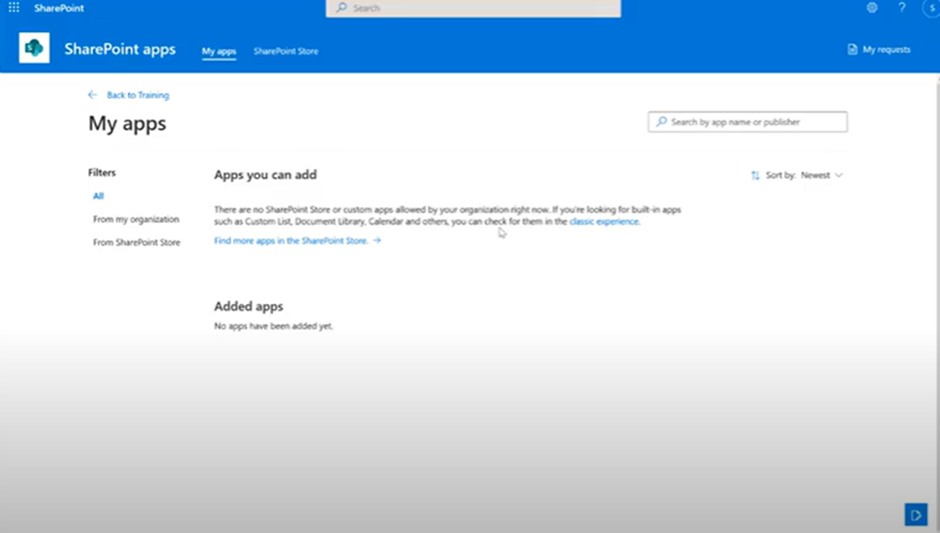
Step 7: In the modern experience we cannot able to see the templates but when we go to the Classic experience, we can see the different types of templates available.
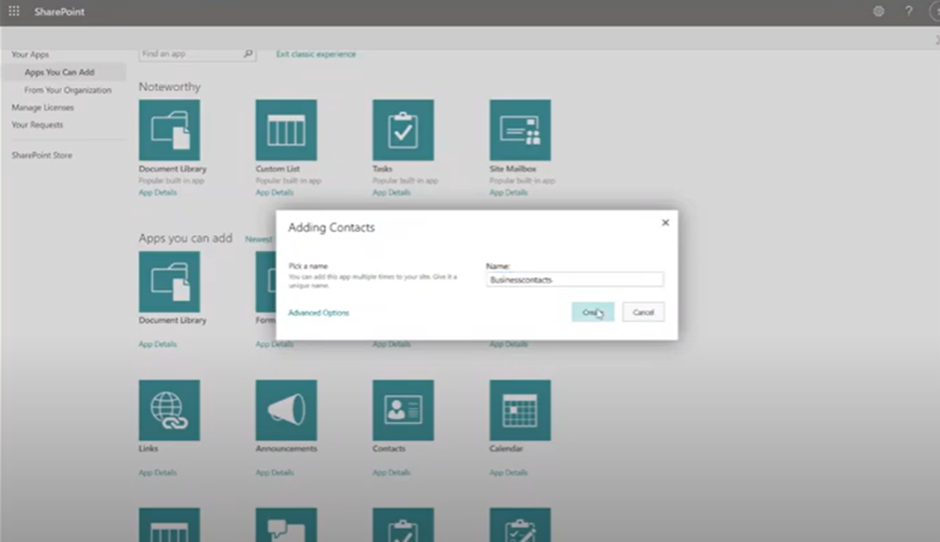
Step 8: will create a contact List and when we try to create a contact list give Name and click Create.
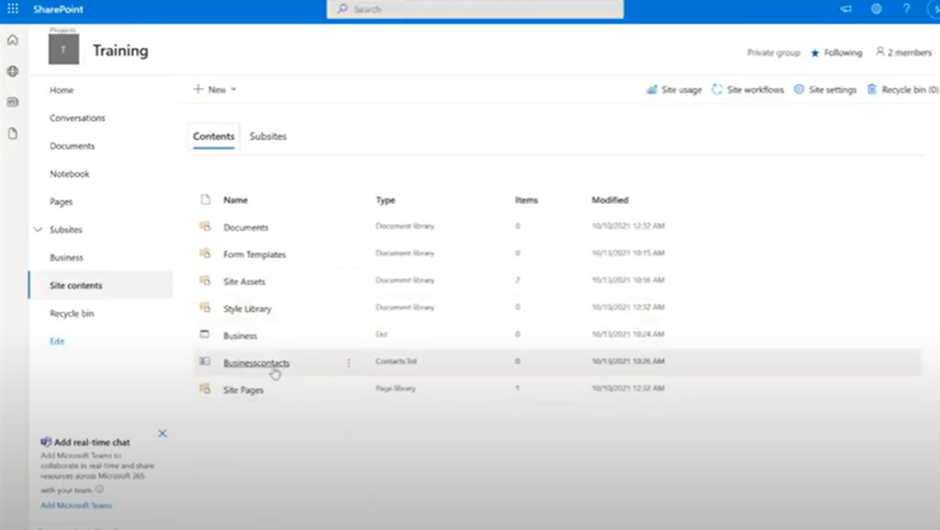
Step 9: It will add the Contacts content type to there
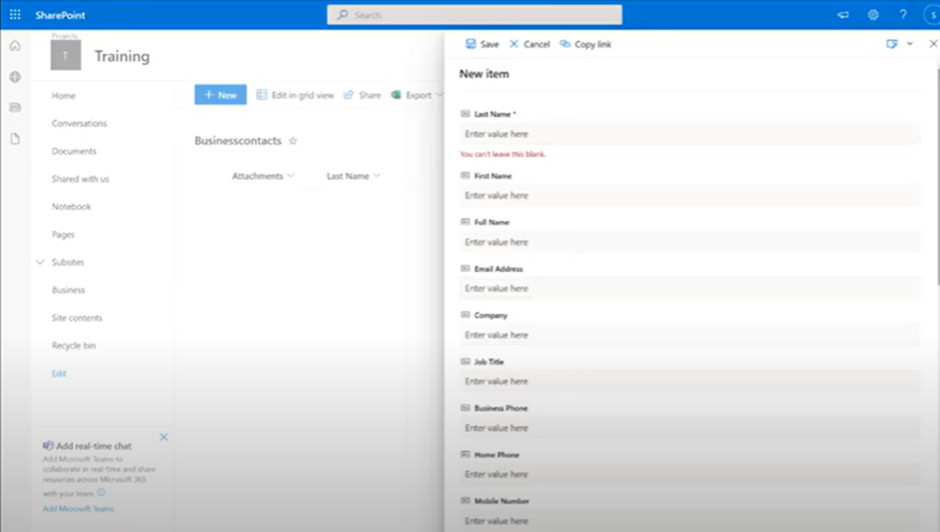
Stepp 10: We can able to see Multiple Column and here we can able to see the Attachments, Last name, First name, Company, Home Phone, Email address, +Add column. If we want add the columns we can add.
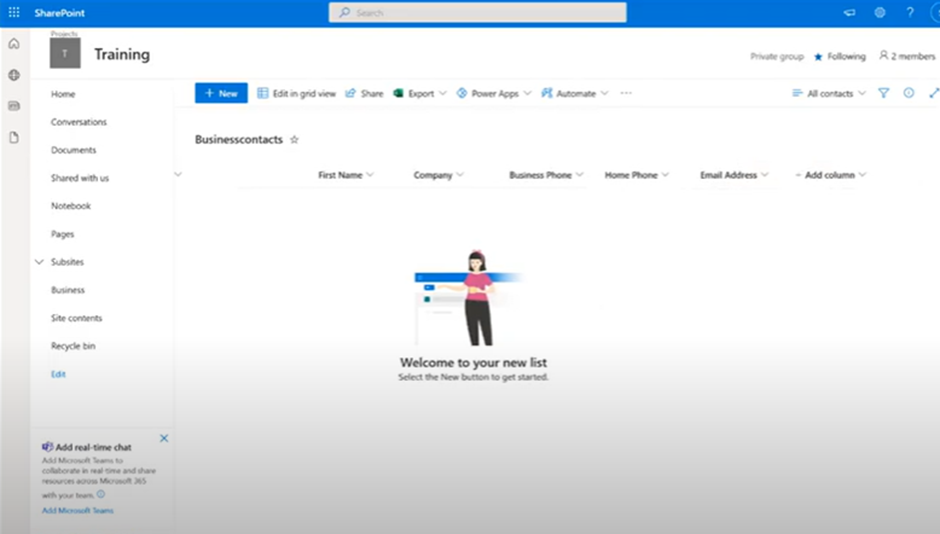
Step 11: To add the data Click on +New
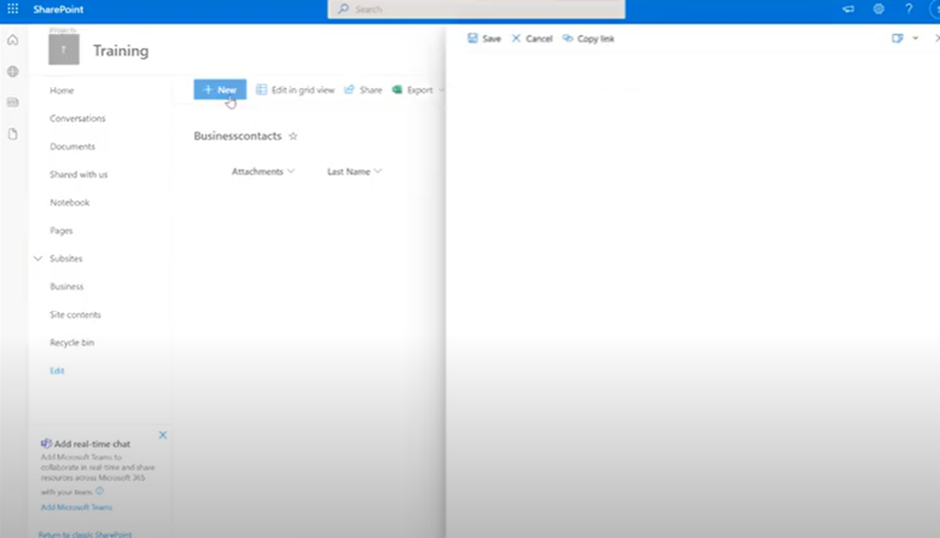
Step 12: If we try to add the data into the list we can able to see many things and we can also able to add the data and whatever the columns that shows that created by Microsoft and then whenever we create list we can able to see these columns automatically.
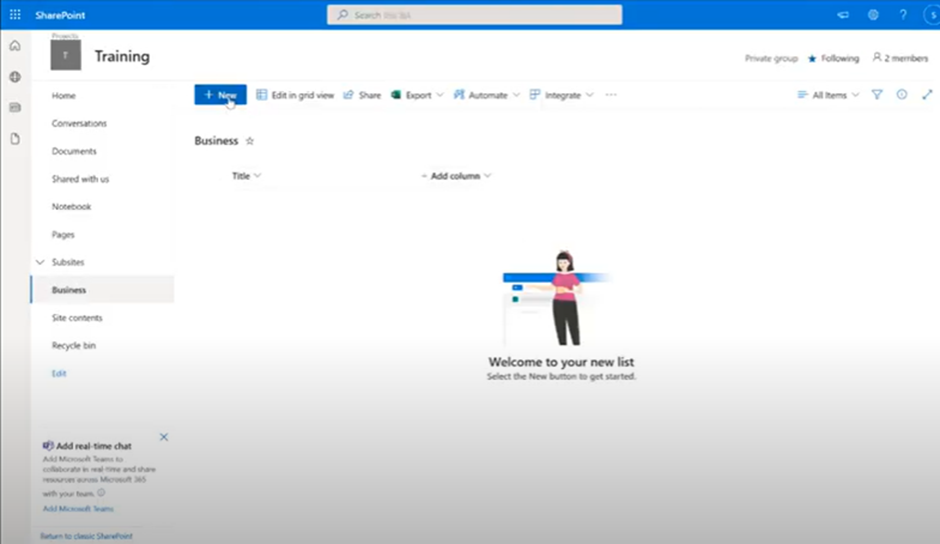
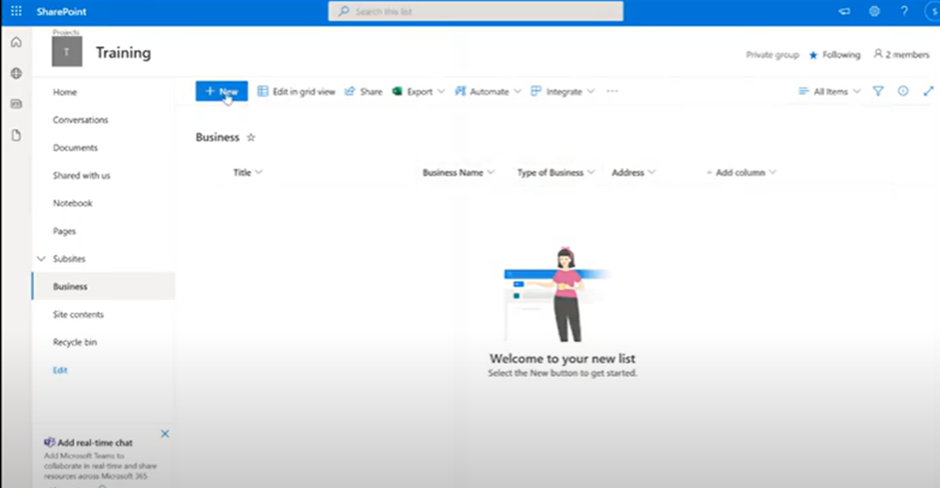
Step 13: If we want to create any of the list we created before that list name called Business and when we open this list we can able to see only Title and +add columns
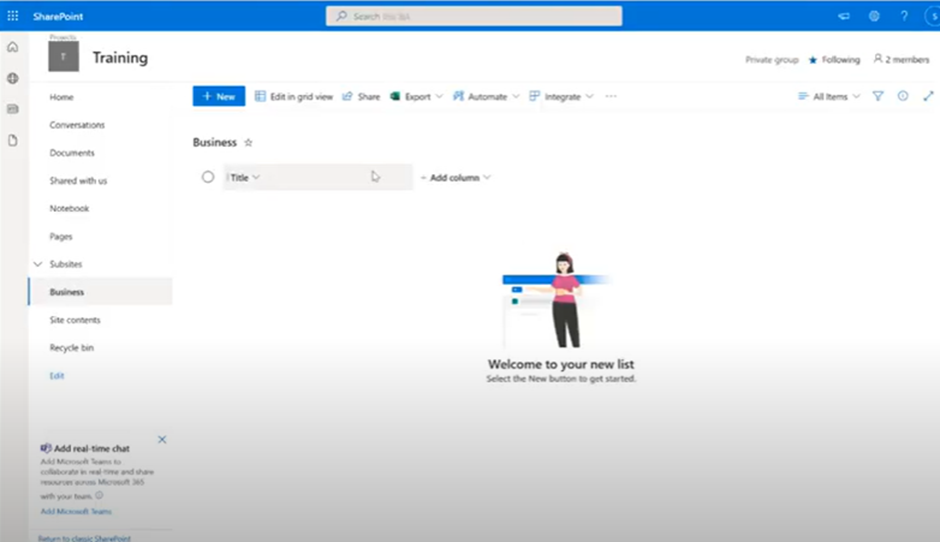
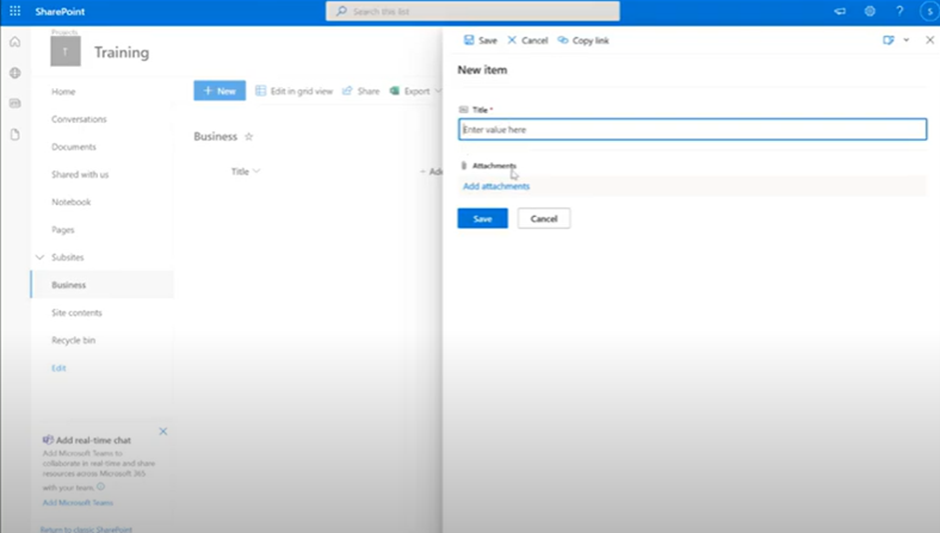
Step 14: To add the data click on +New
Step 15: When we click on +New it will get an option to enter name and attachments two options are available.
Step 16: To create a column we had an option +add column if we click on that we can able to see the different types of column available there.
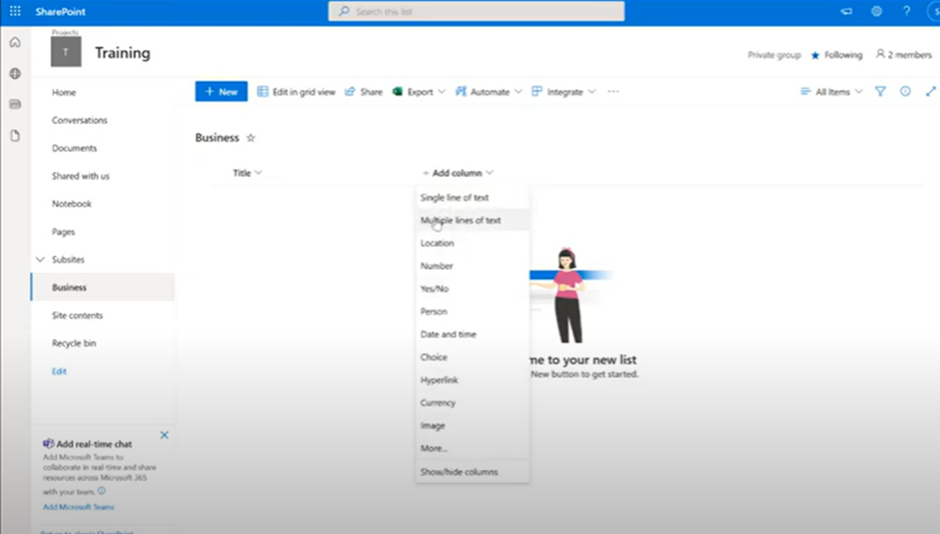
Step 17: Will try to create a new column click on Single Line Text and then in create a column give name and Description is optional and type is Single Line Text or we can also change and default value is optional and we can also use calculated value. Click Save.

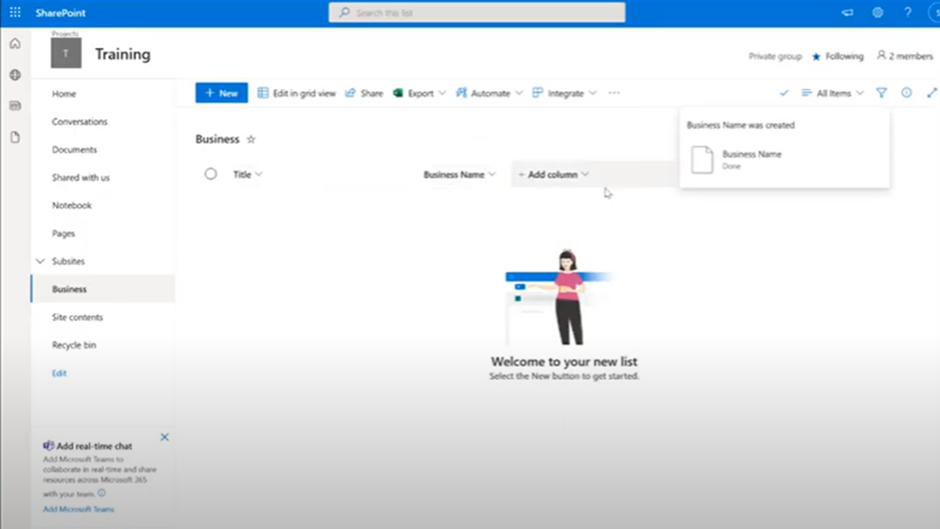
Step 17: Business name was added.
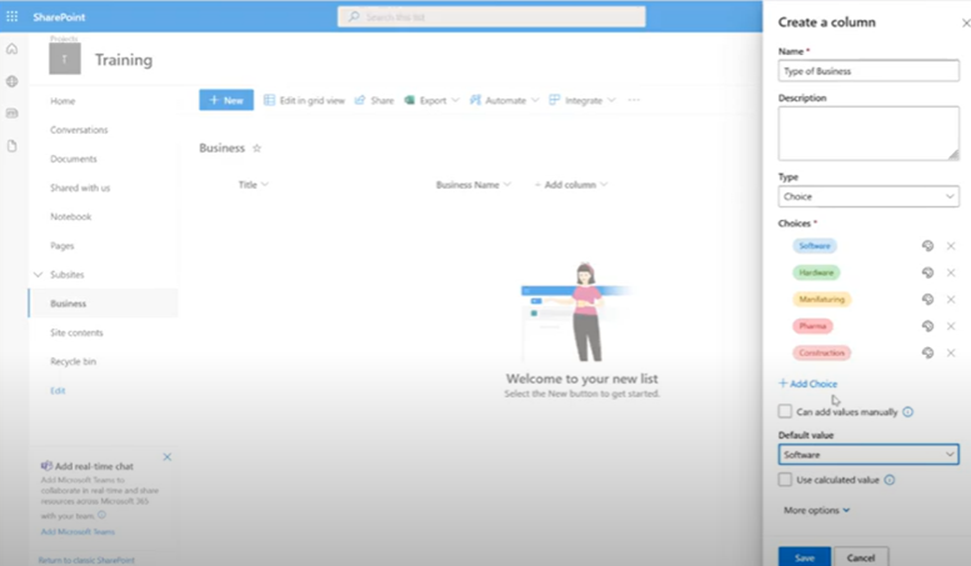
Step 18: Creating another Choice column. Click on Choice column.
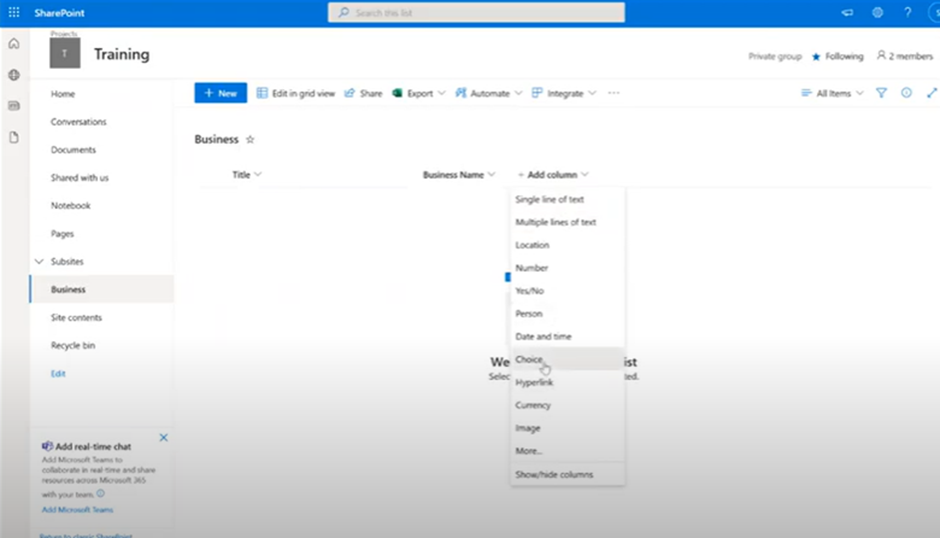
Step 19: In the choice column give Name and give choices and whatever the options are given have to go with that and them click on Save.
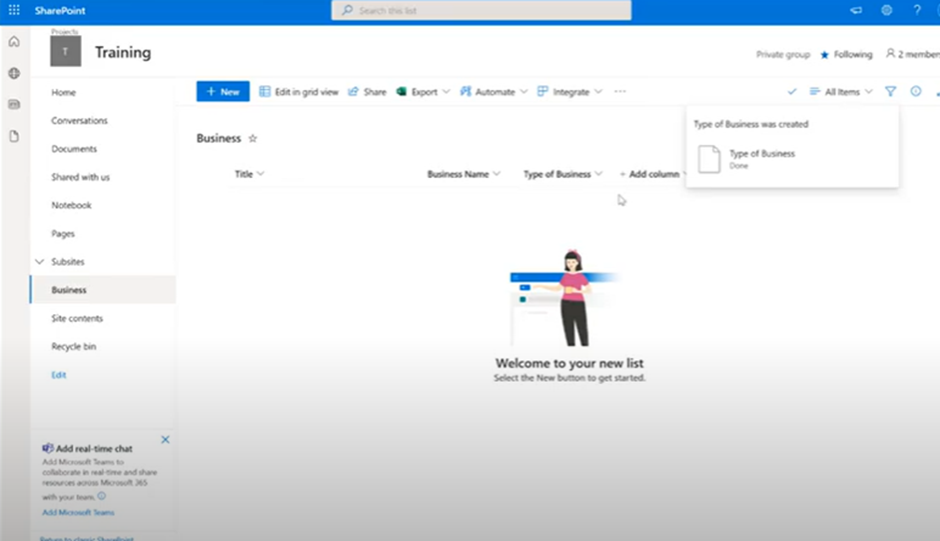
Step 20: Here will get the Type Of Business.
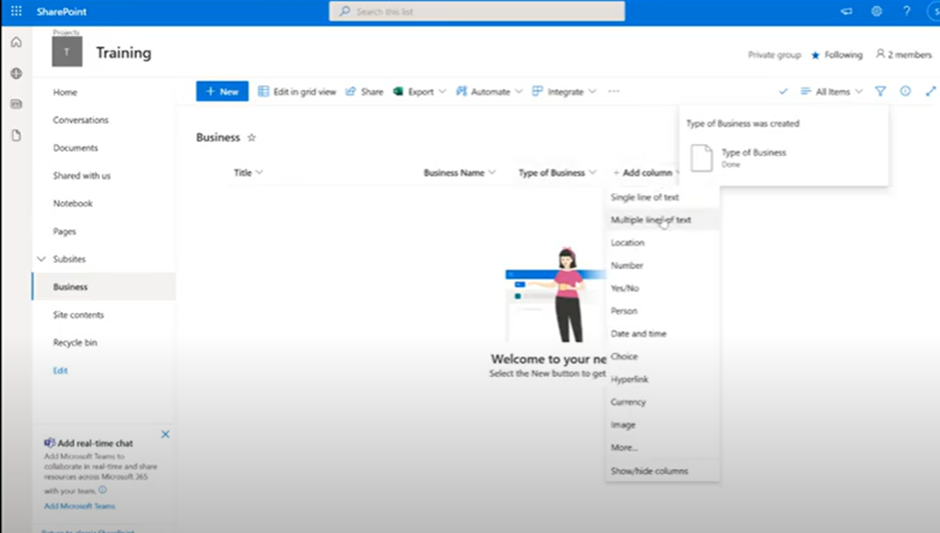
Step 21: We can also able to create the address also click on +add column and select Multiple lines of text.
Step 22: In a create a column give the Name and other options and click on Save.
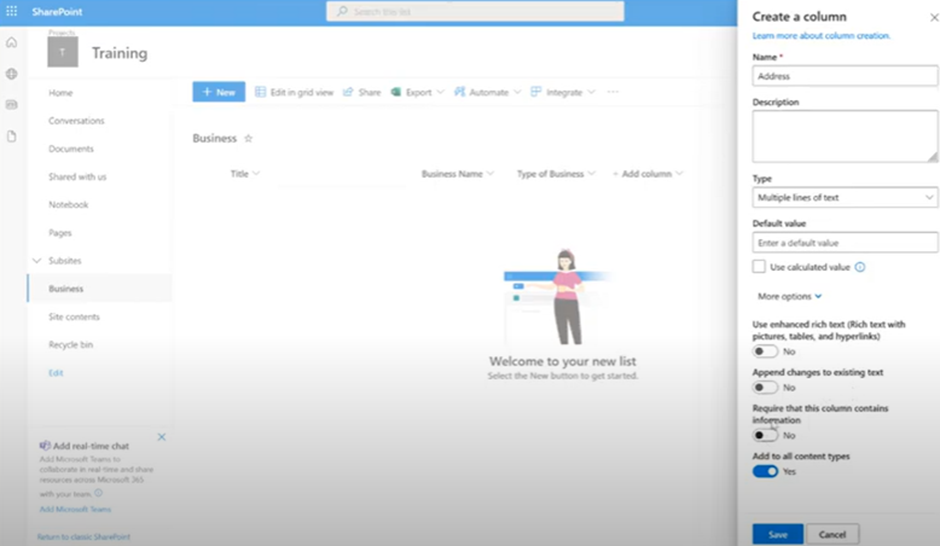
Step 23: Here you will get the address.
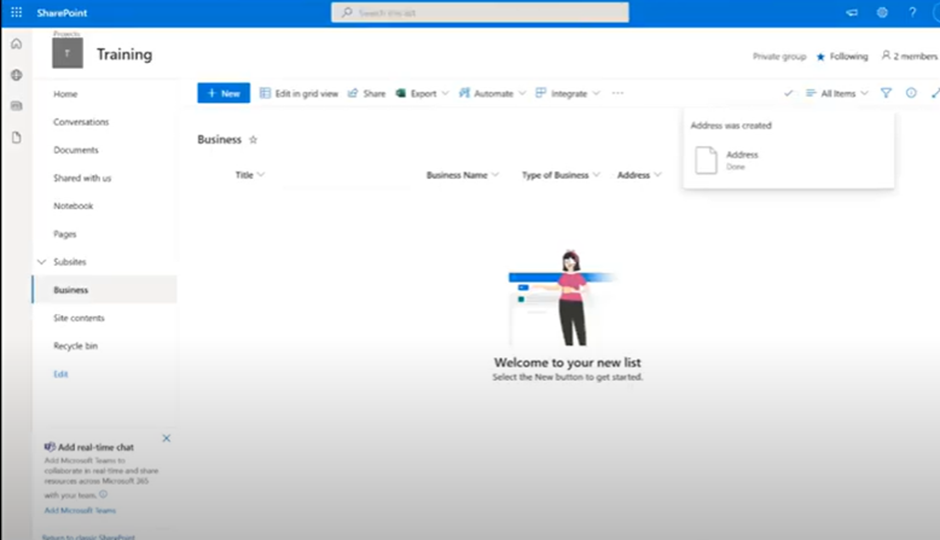
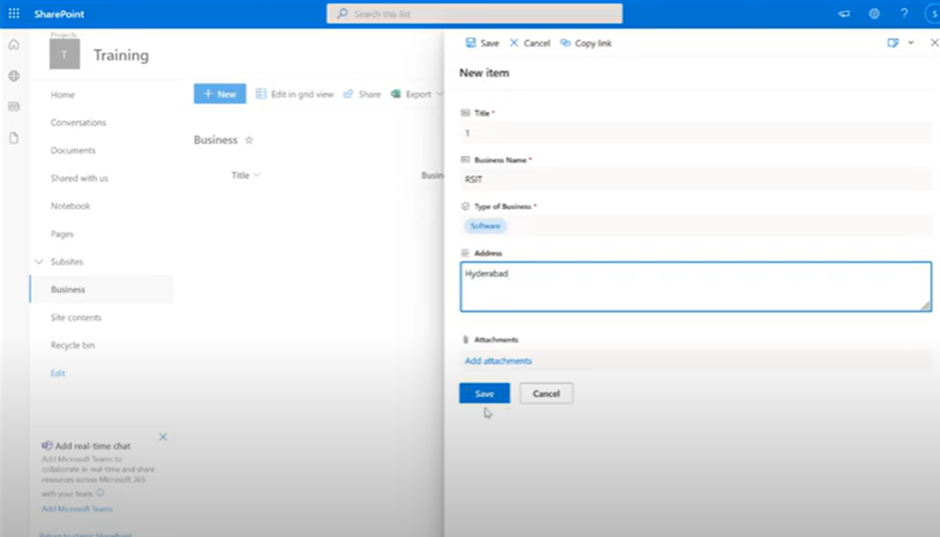
Step 24: Add the data for the for the four columns for Title, Business Name, Type of Business and Address.
Step 25:Click on +New
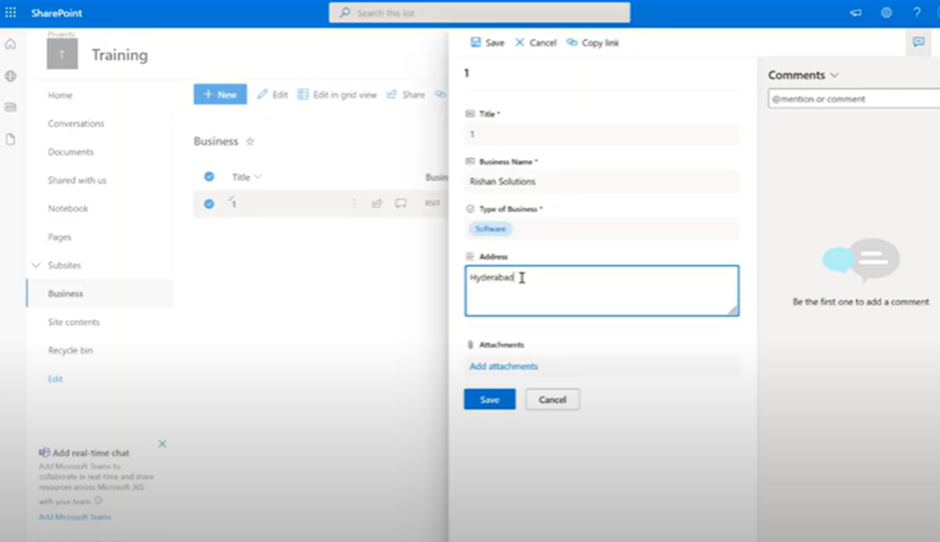
Step 26: We can able to see the Title, Business Name, Type of Business, Address and Attachments is optional always and click Save.
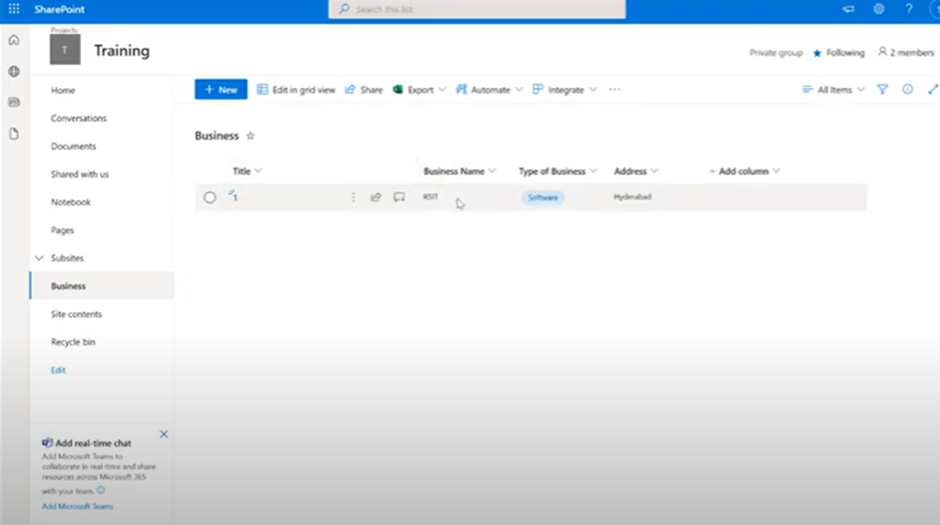
Step 27: Now the data will store. In these way we can able to add the data and columns there.
Step 28: If want to edit the data select the data and we can able to see the edit options.
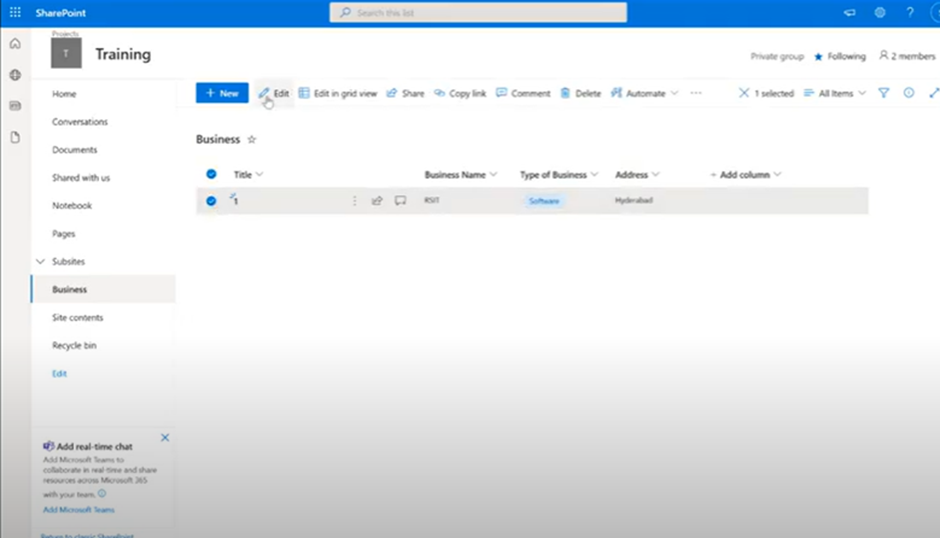
Step 29: In the edit option for example if we want to change Business Name RSIT to Rishaan solutions and we can also change Address, Type of Business and then click Save.
Step 30: If we want to Delete the data Select the data and we can able to see the options on top if we click on delete and whenever we click on the delete option it asks as that are you sure an message saying that are you sure want to send an item to the recycle bin. If we click on delete it will delete and these data will goes to recycle bin and whenever we try to retrive that data to the original place.

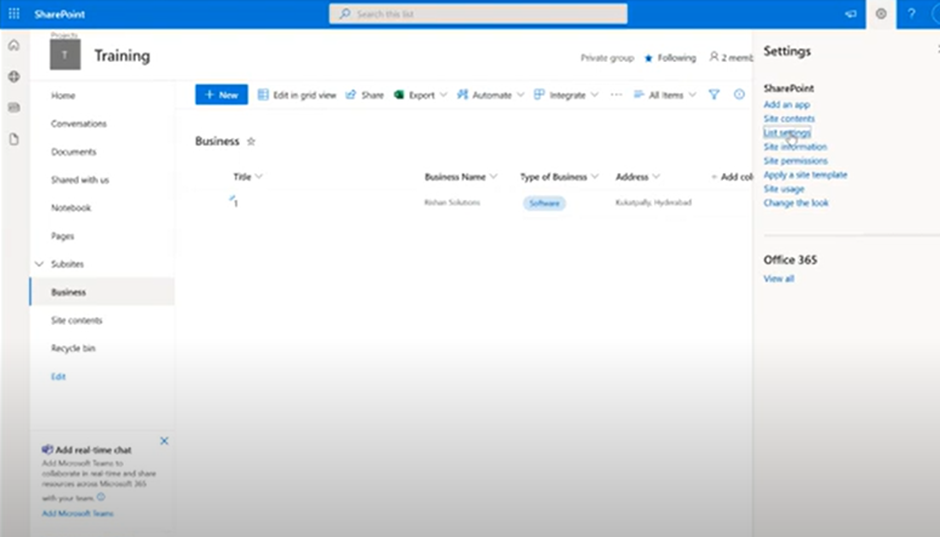
Step 31: There is an another option also to create column. If we click on site action in the top right corner we can able to see the few options and we can able to see the options named as List Settings.